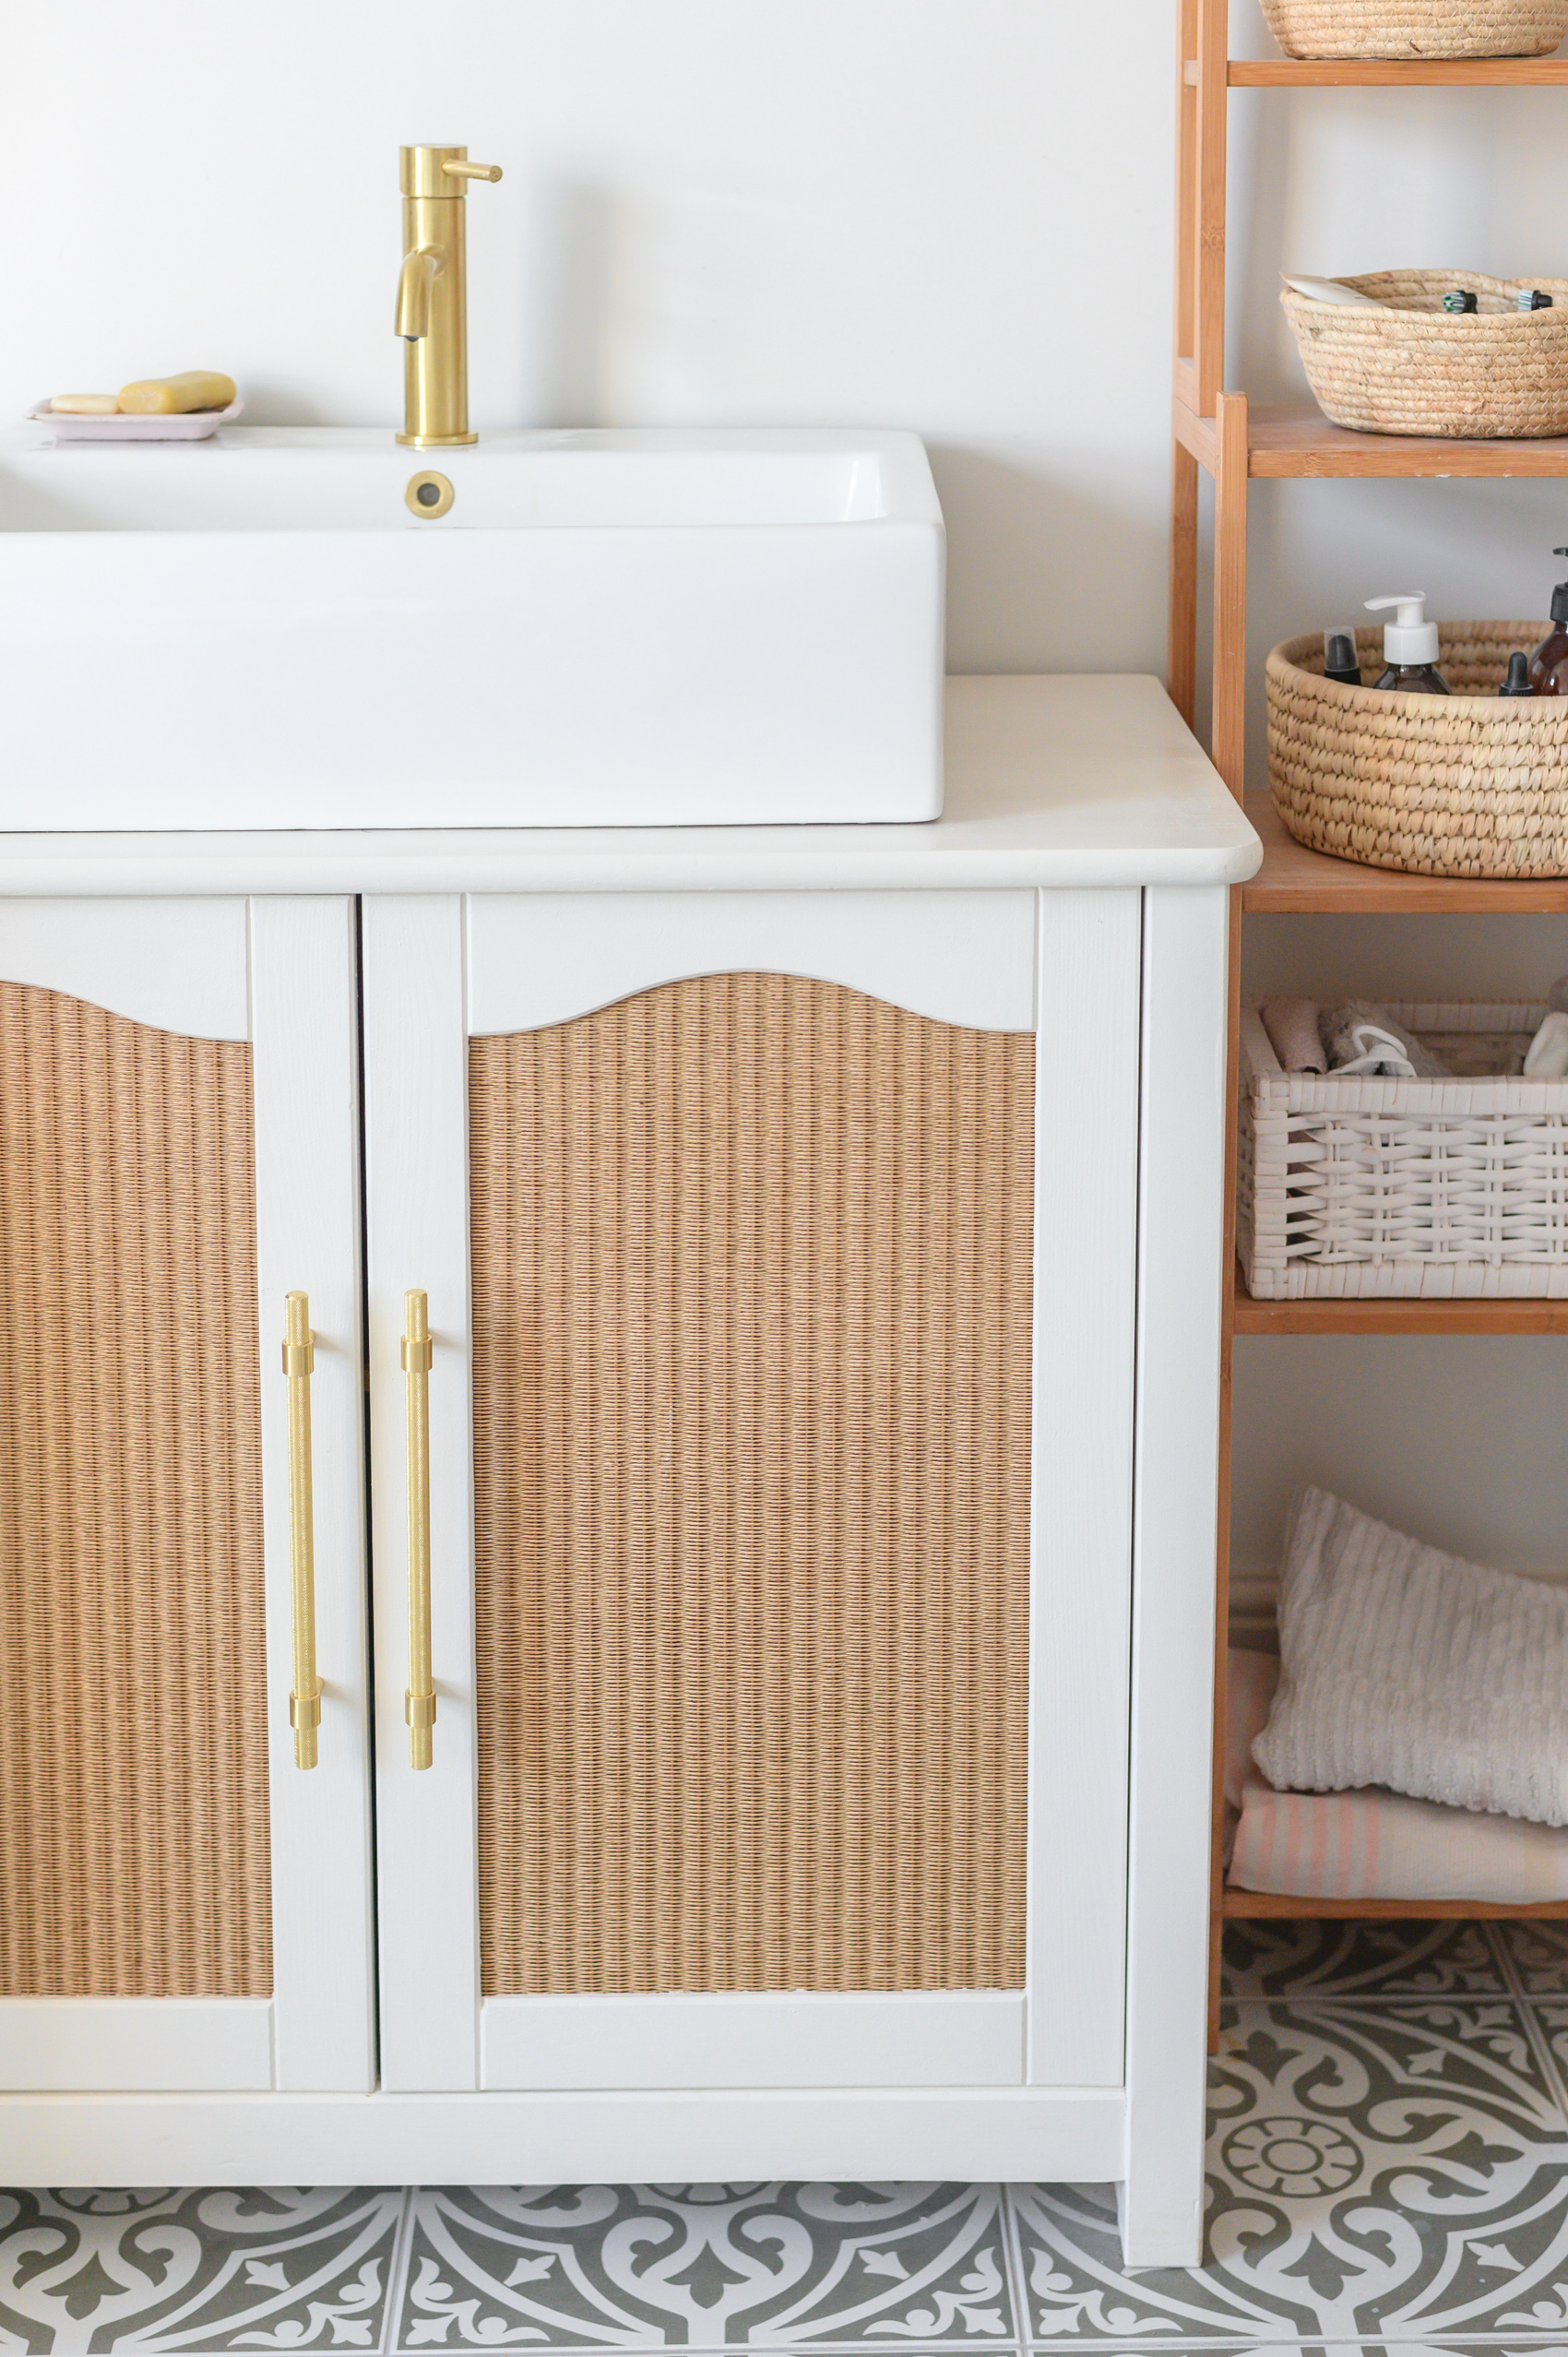
A new DIY Thrift Flip!!! That means, I create a completely new piece out of second-hand furniture. You can read about my last thrift flip here, where I transformed an old dresser into a new, modern one.
Today, we’re turning an old changing table into a chic, modern vanity that fits perfectly in our Victorian-inspired bathroom! We found the vintage dresser on Facebook Marketplace and picked it up by car. I think it cost around 40 euros. Here you can see how the cute piece looked before:

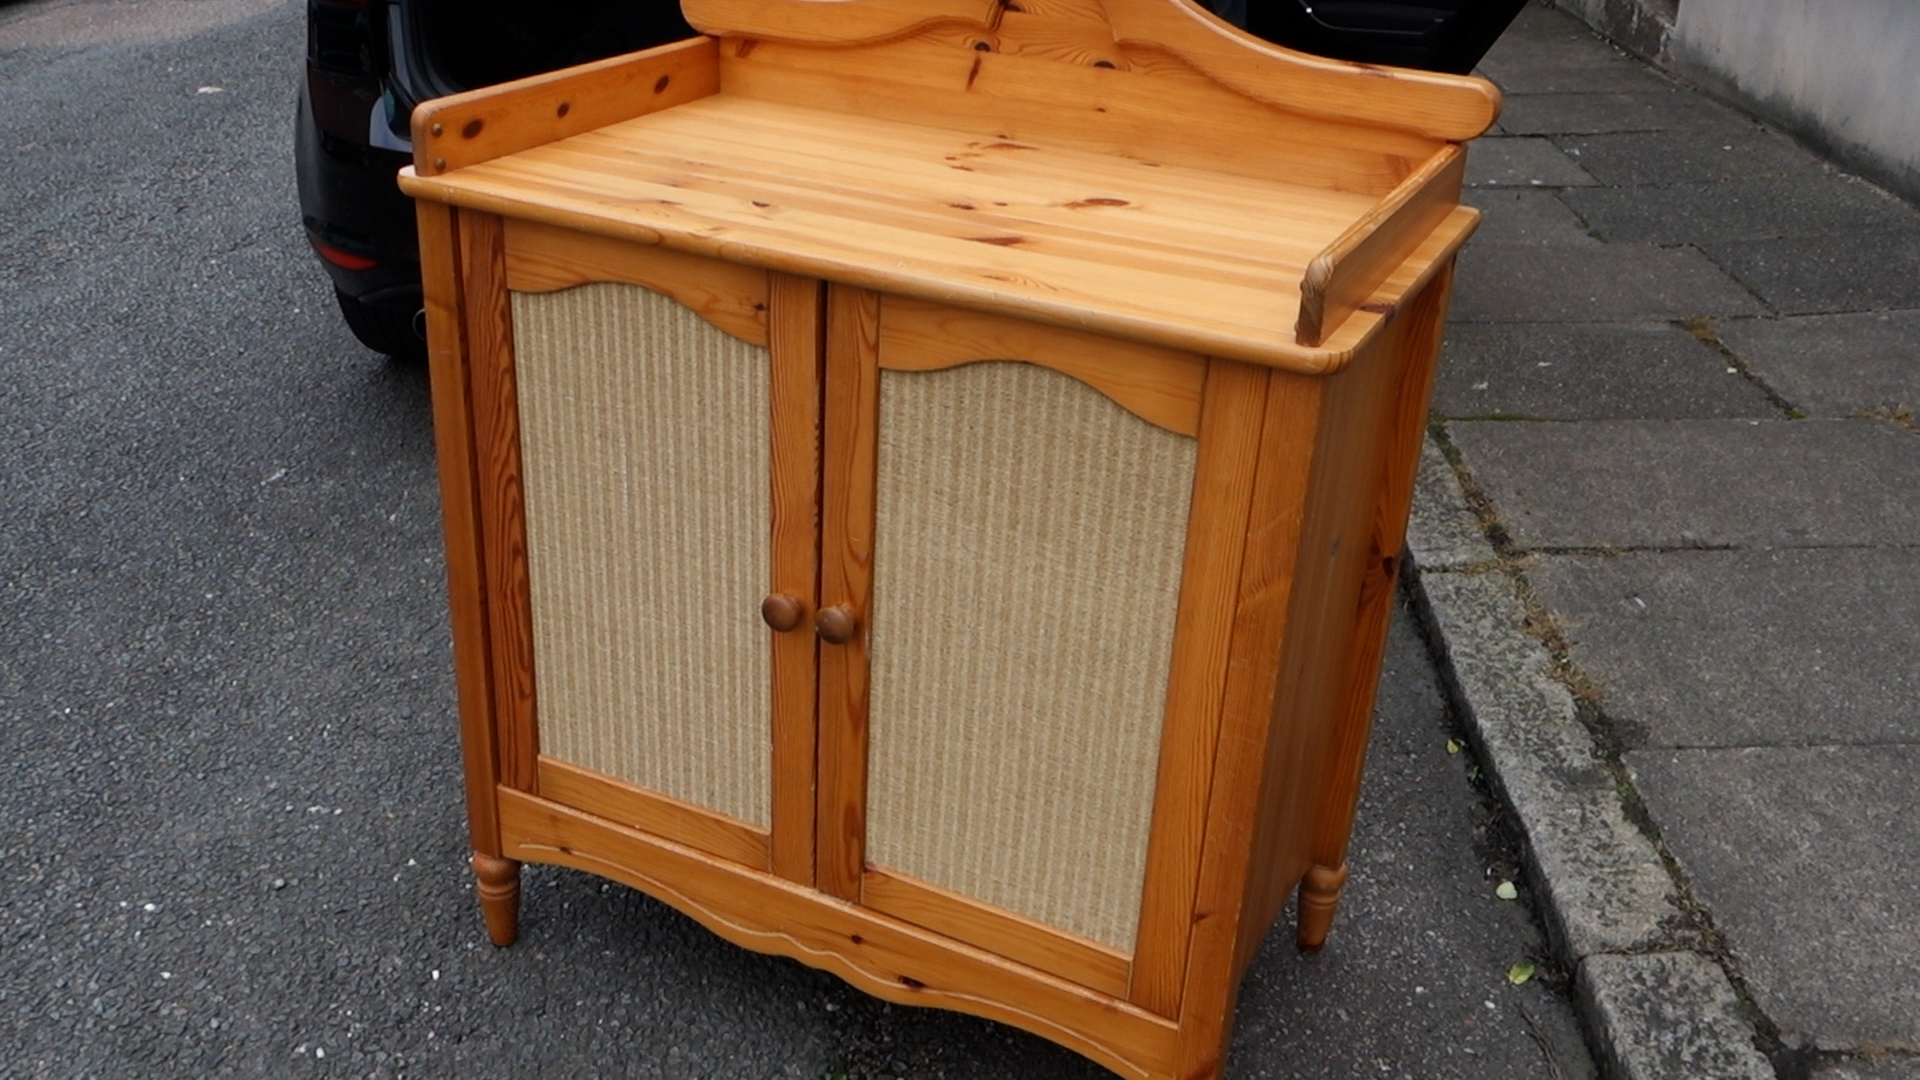
In the first step, we thought about what exactly we wanted to change about the dresser. Our plan was:
- shorten the legs
- take off the upper edges
- saw off the curved edges at the bottom
- paint
- install new handles
- attach a sink
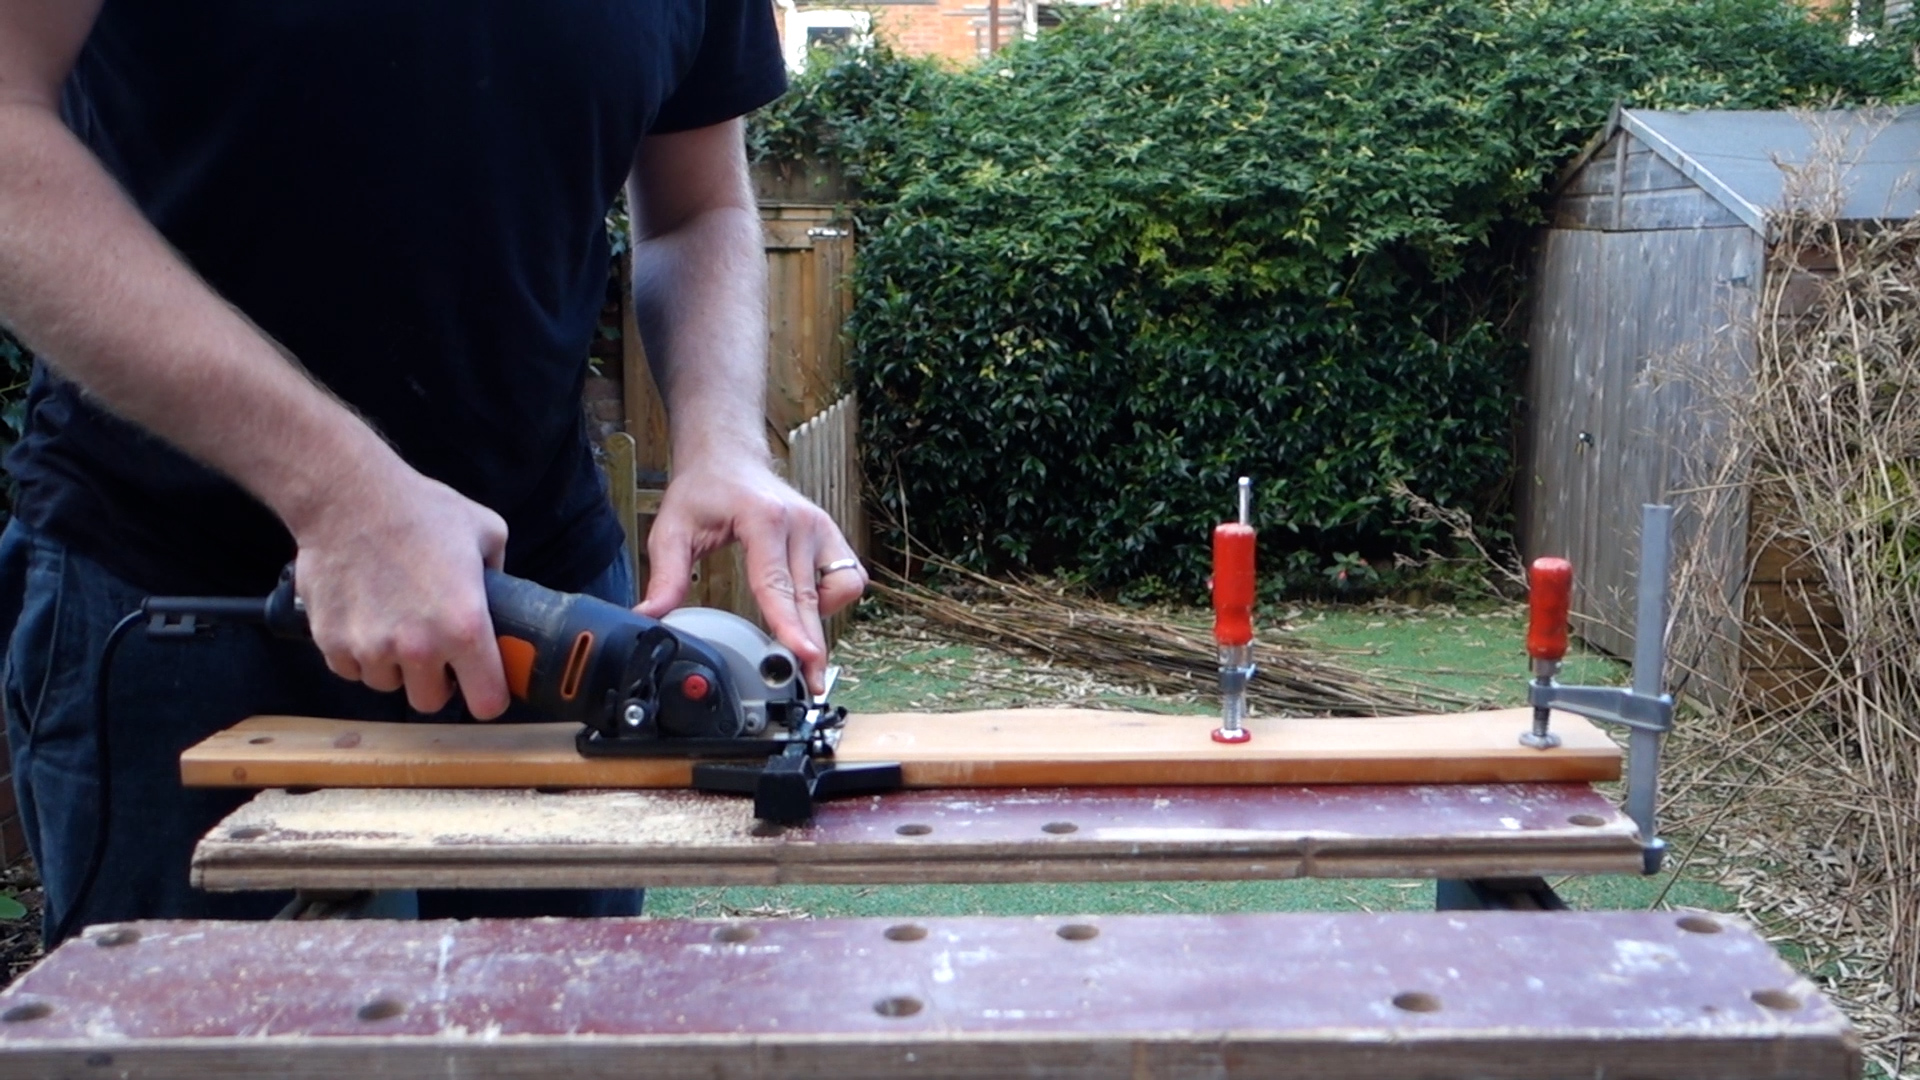
Steps 1-3 went in one sweep. We took the whole thing completely apart, sawed off all the edges and legs we didn’t want, and reassembled the whole thing.
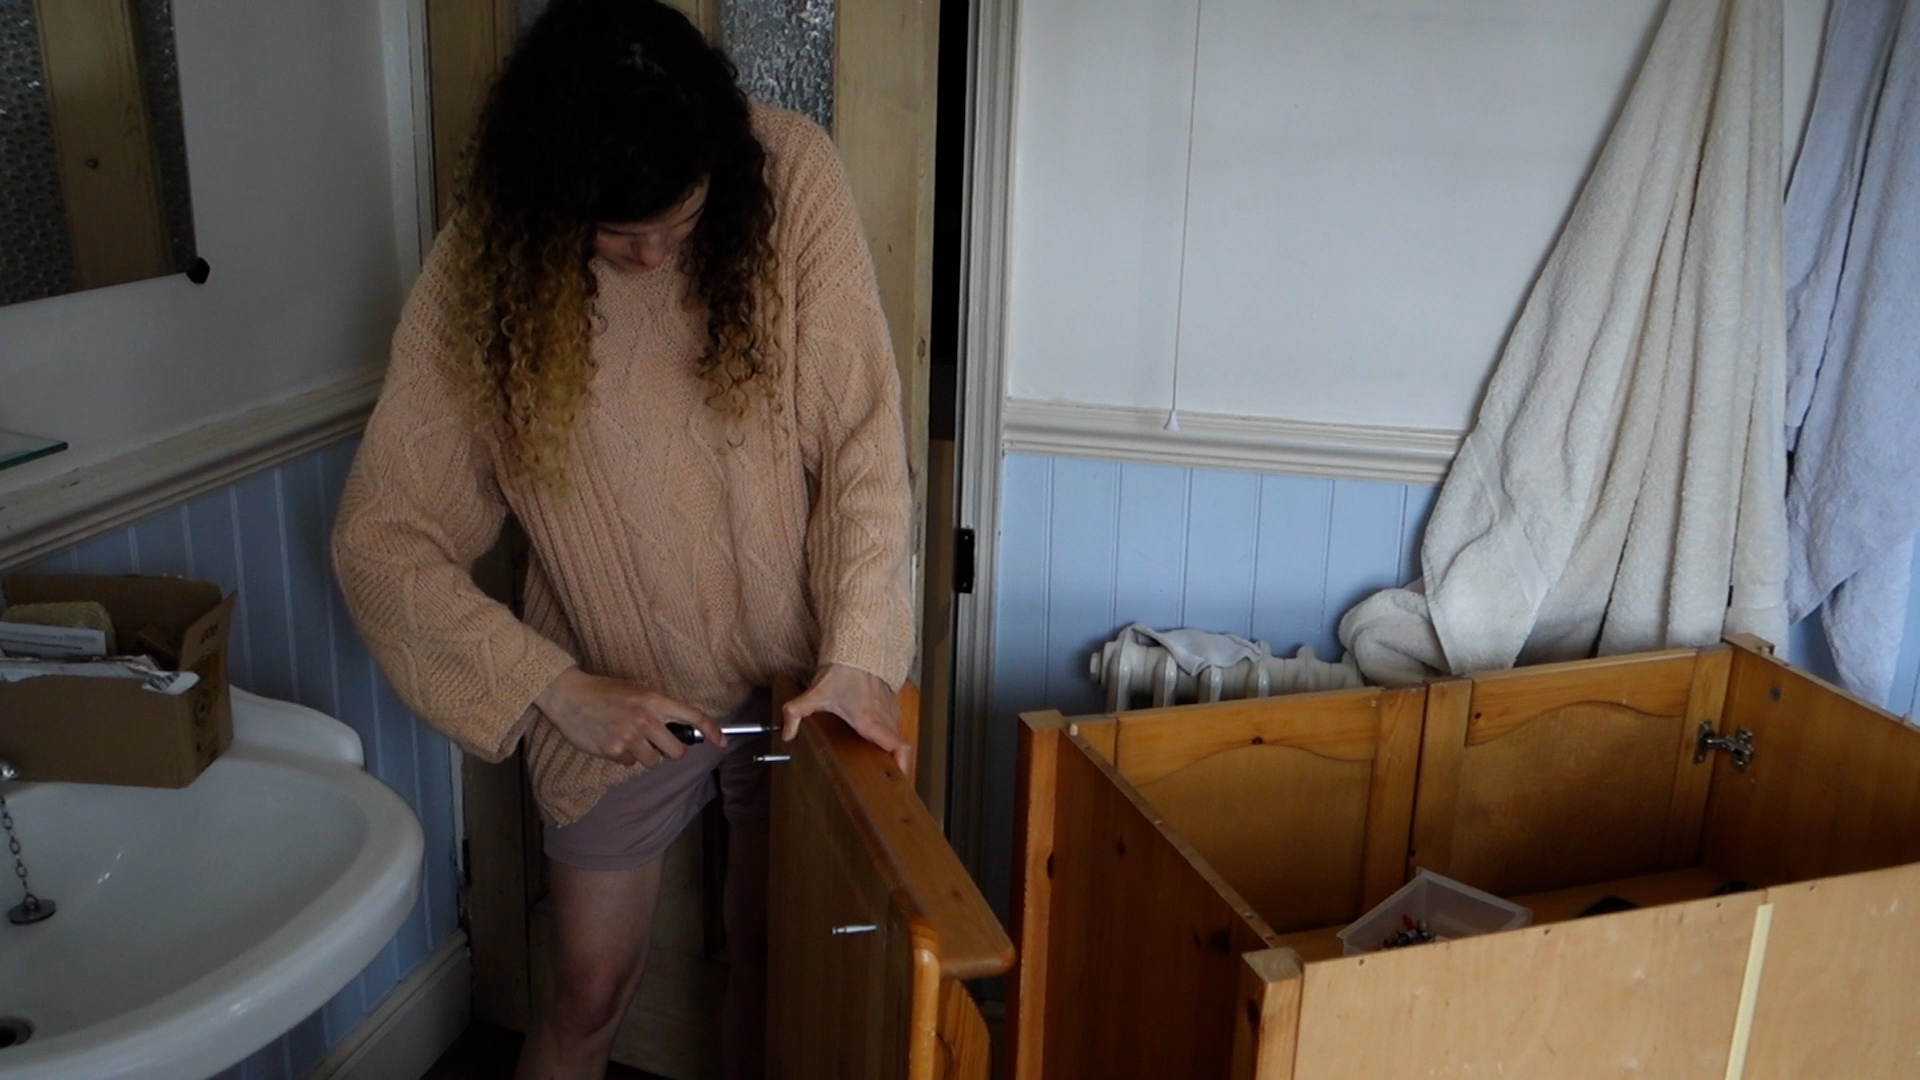
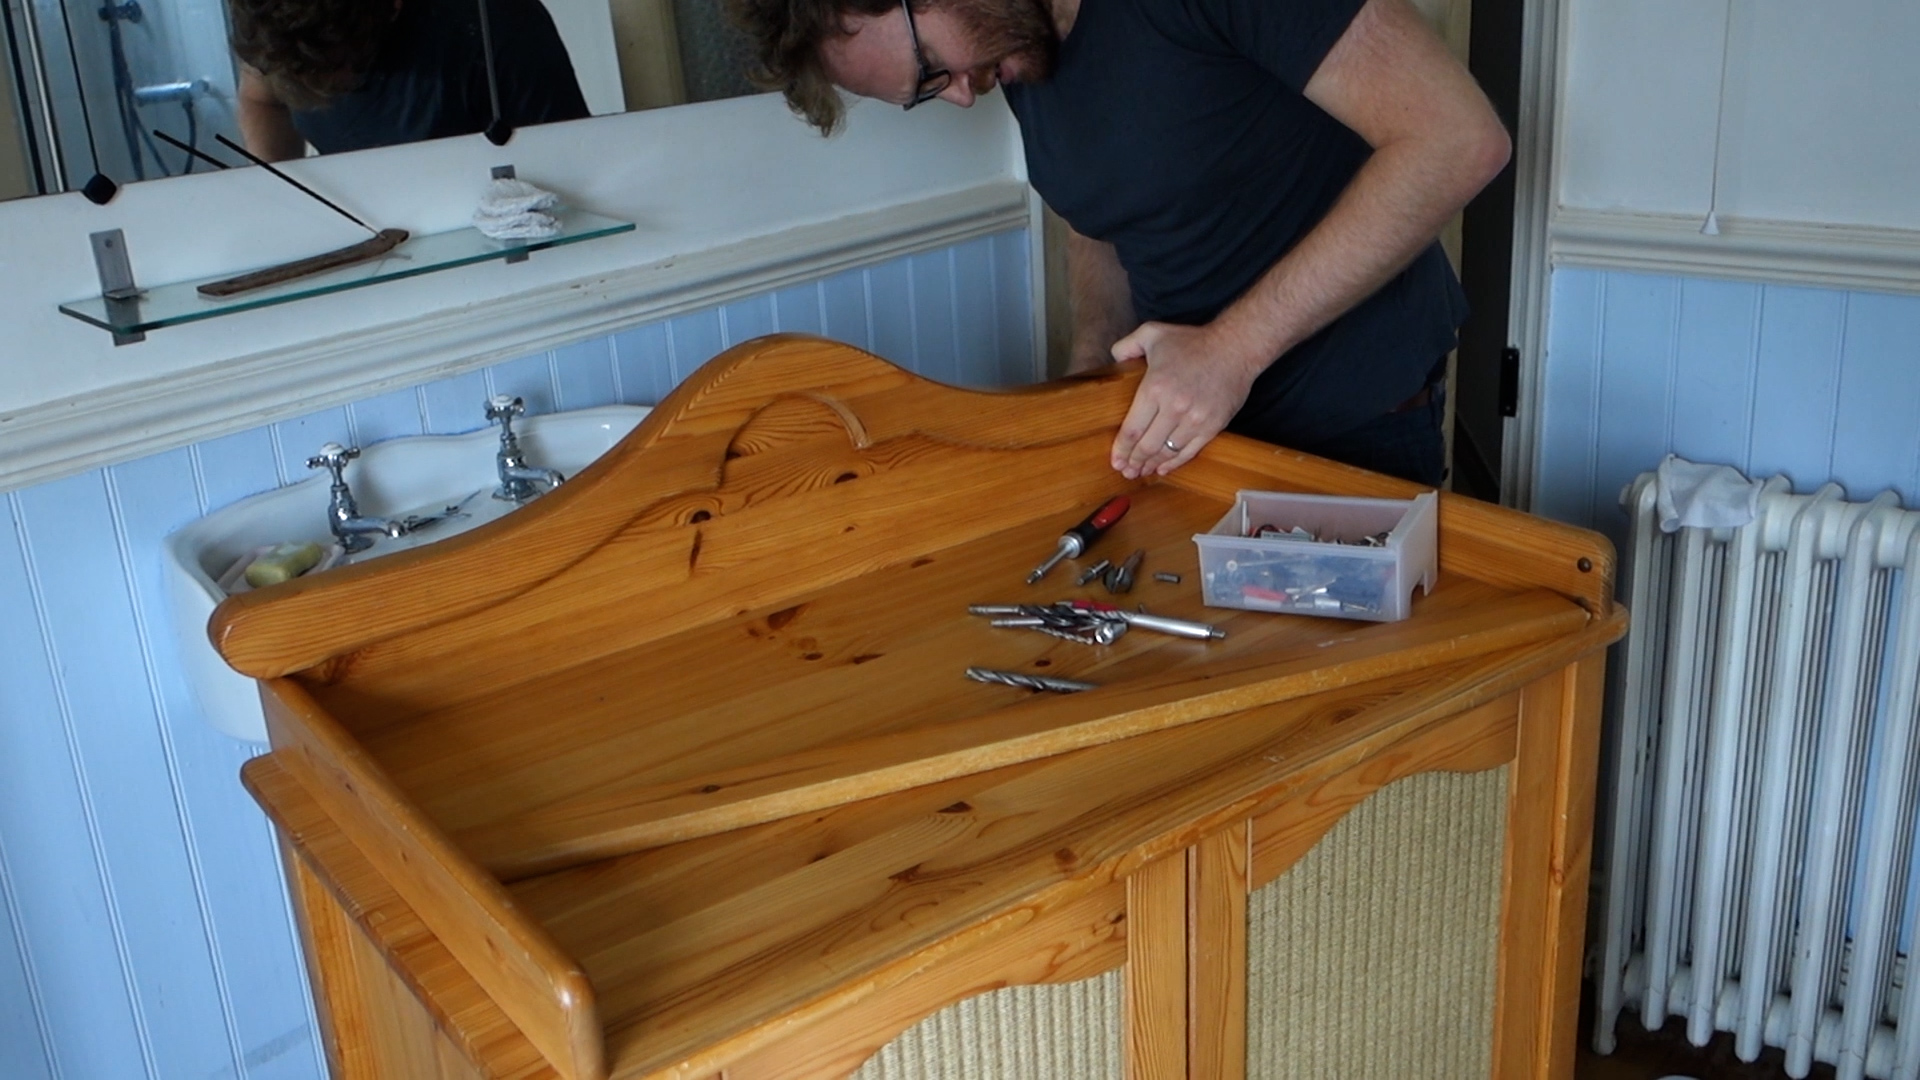
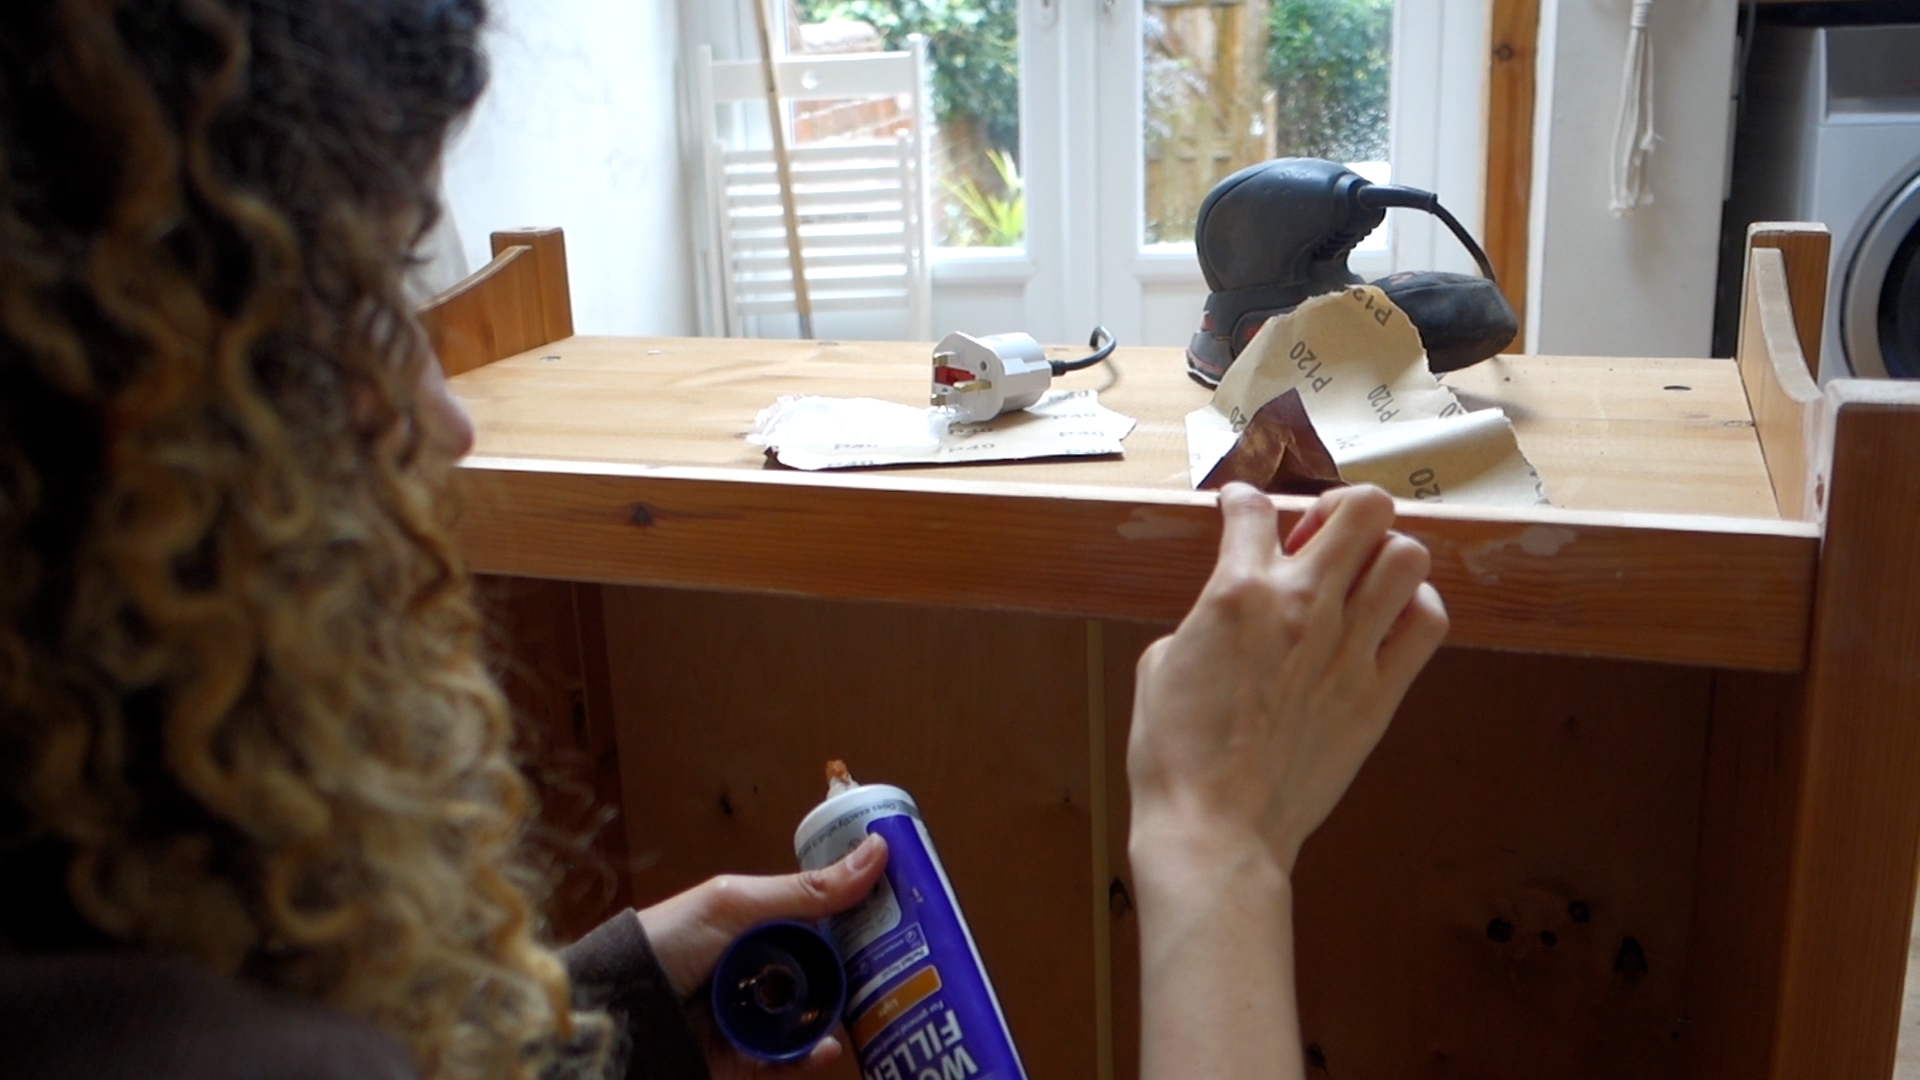
After that, we filled all the holes and uneven edges, as well as sanded the surface and all edges until they were smooth.
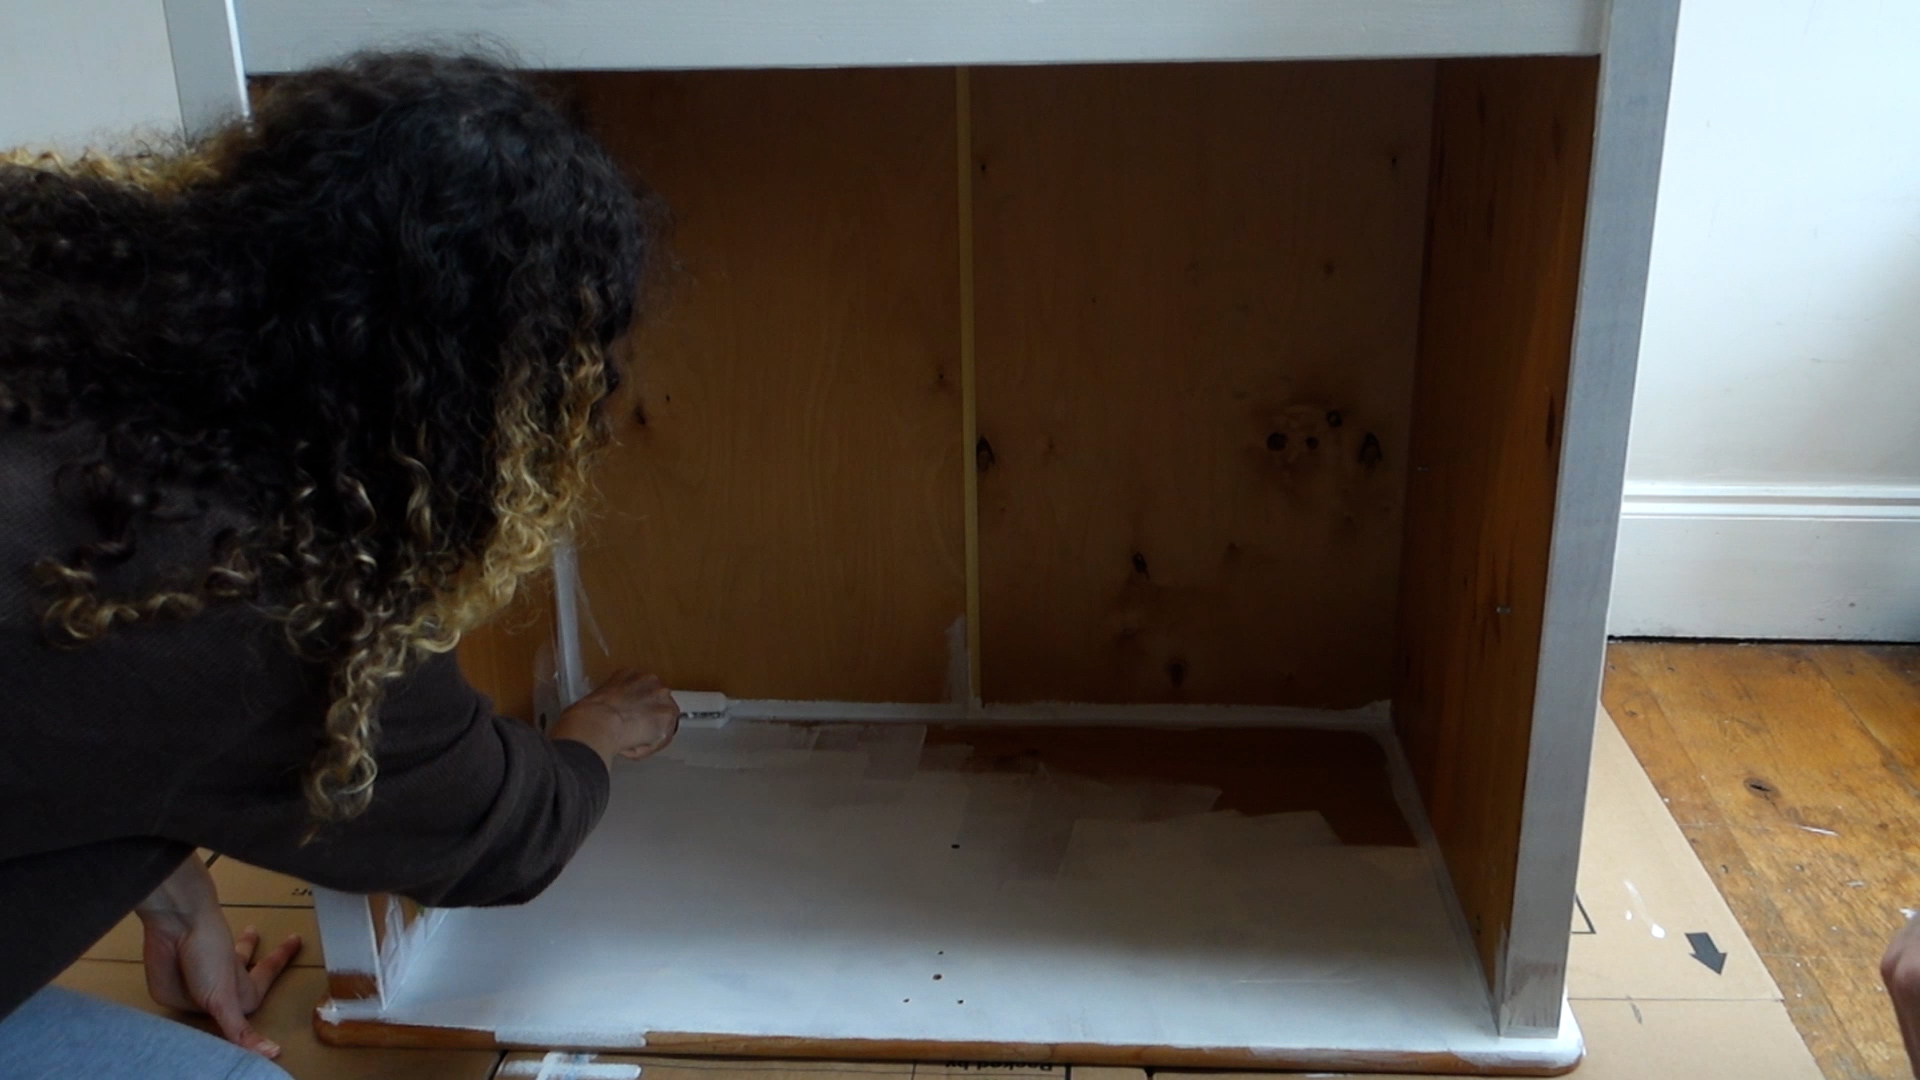
In the next step, we painted the dresser and the doors cream-white. To do this, we very carefully taped off the rattan insert on the doors so that no paint gets on the woven pattern. I think the dresser needed 3 coats of paint. We unfortunately didn’t use a primer, we forgot to, but I would recommend it to anyone! In addition, we applied a clear coat on the worktop, so that the chest of drawers is water resistant.
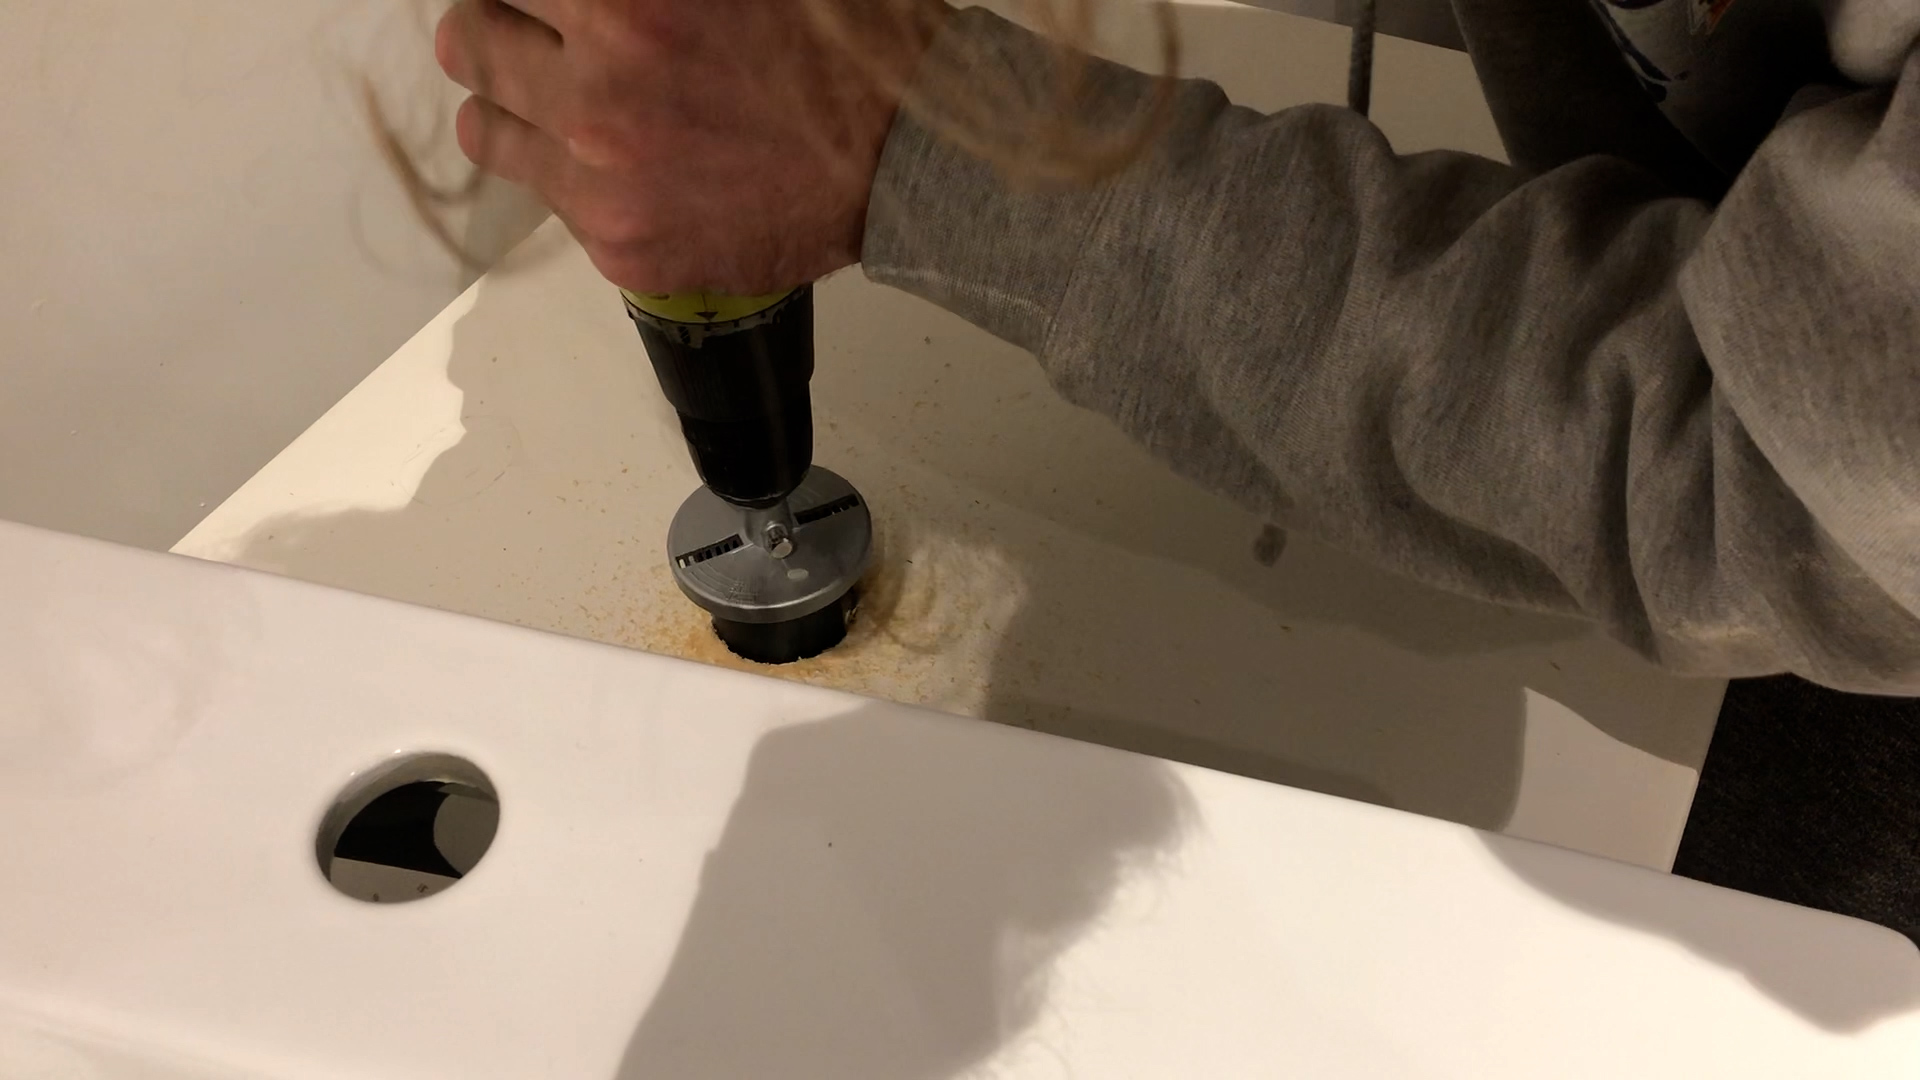
To convert the dresser into a vanity, we ordered a sink and cut out holes on the back and countertop for the pipes.
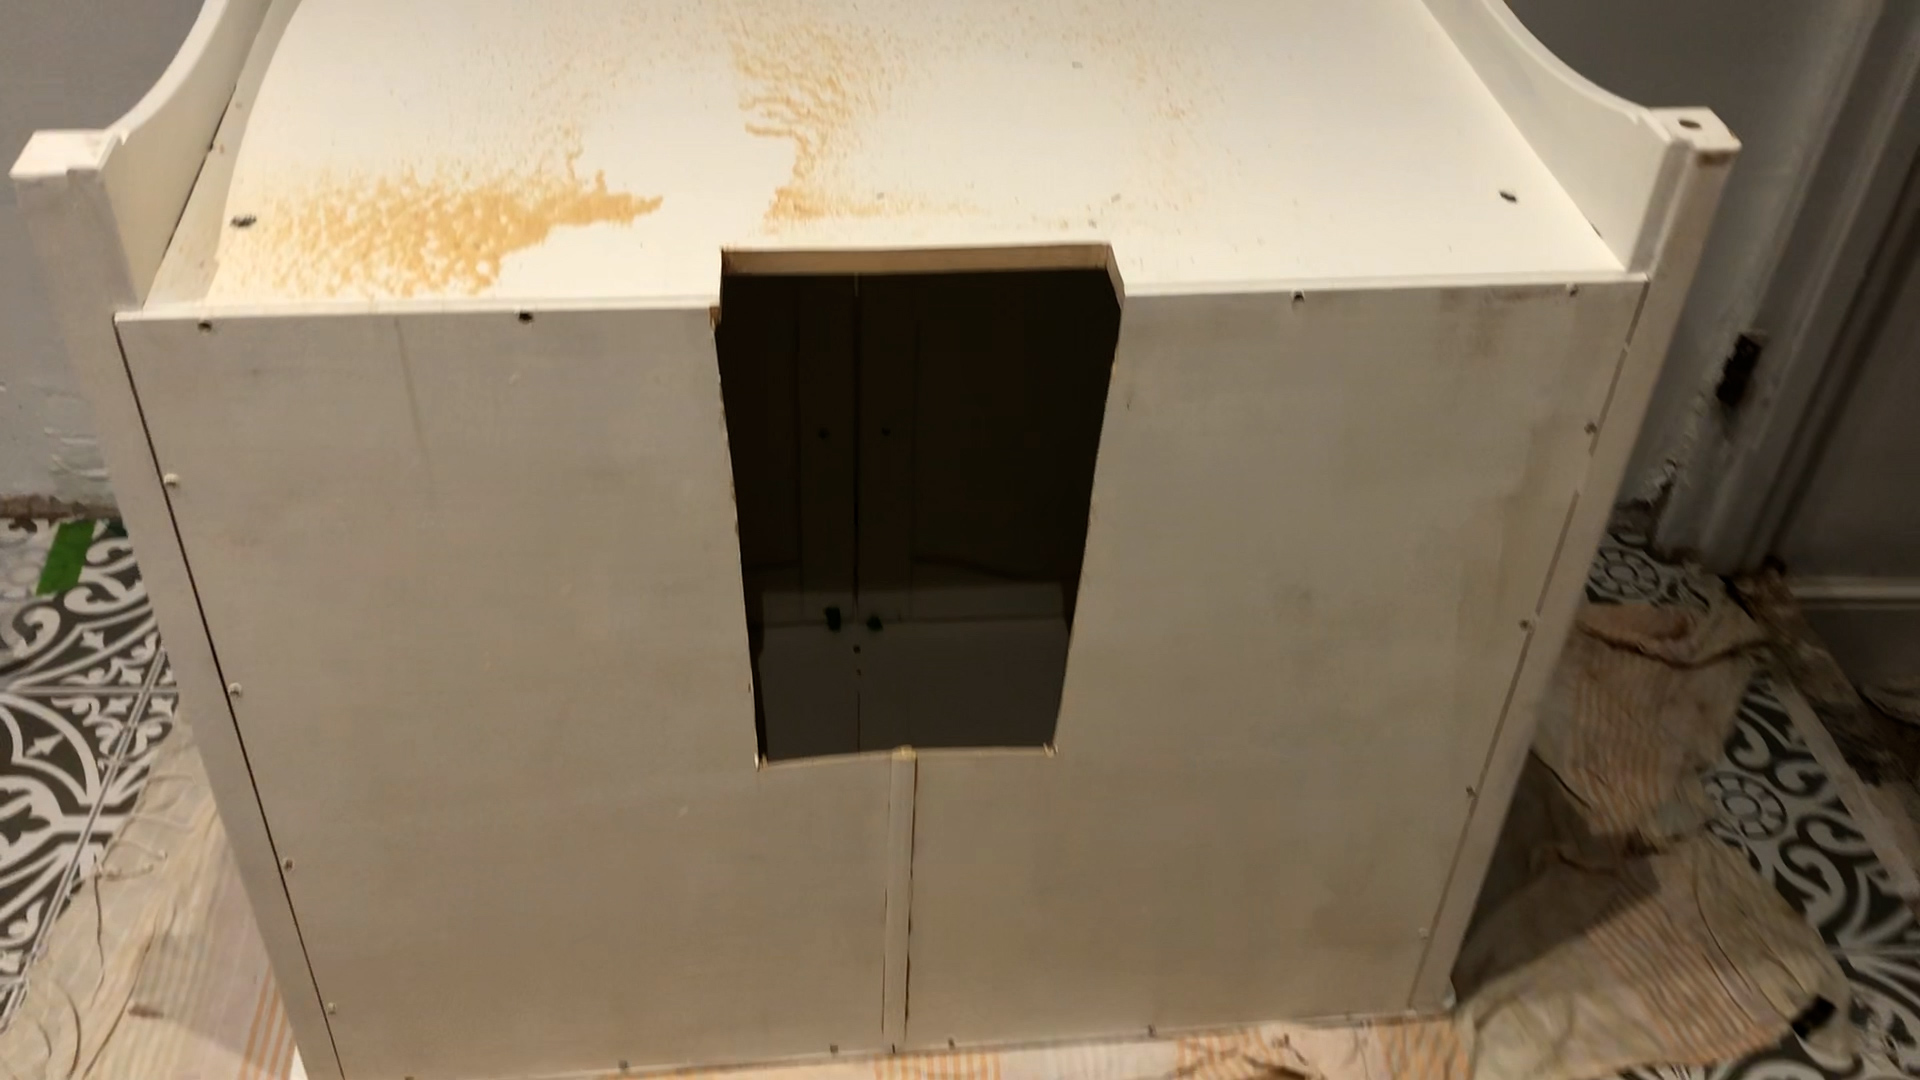
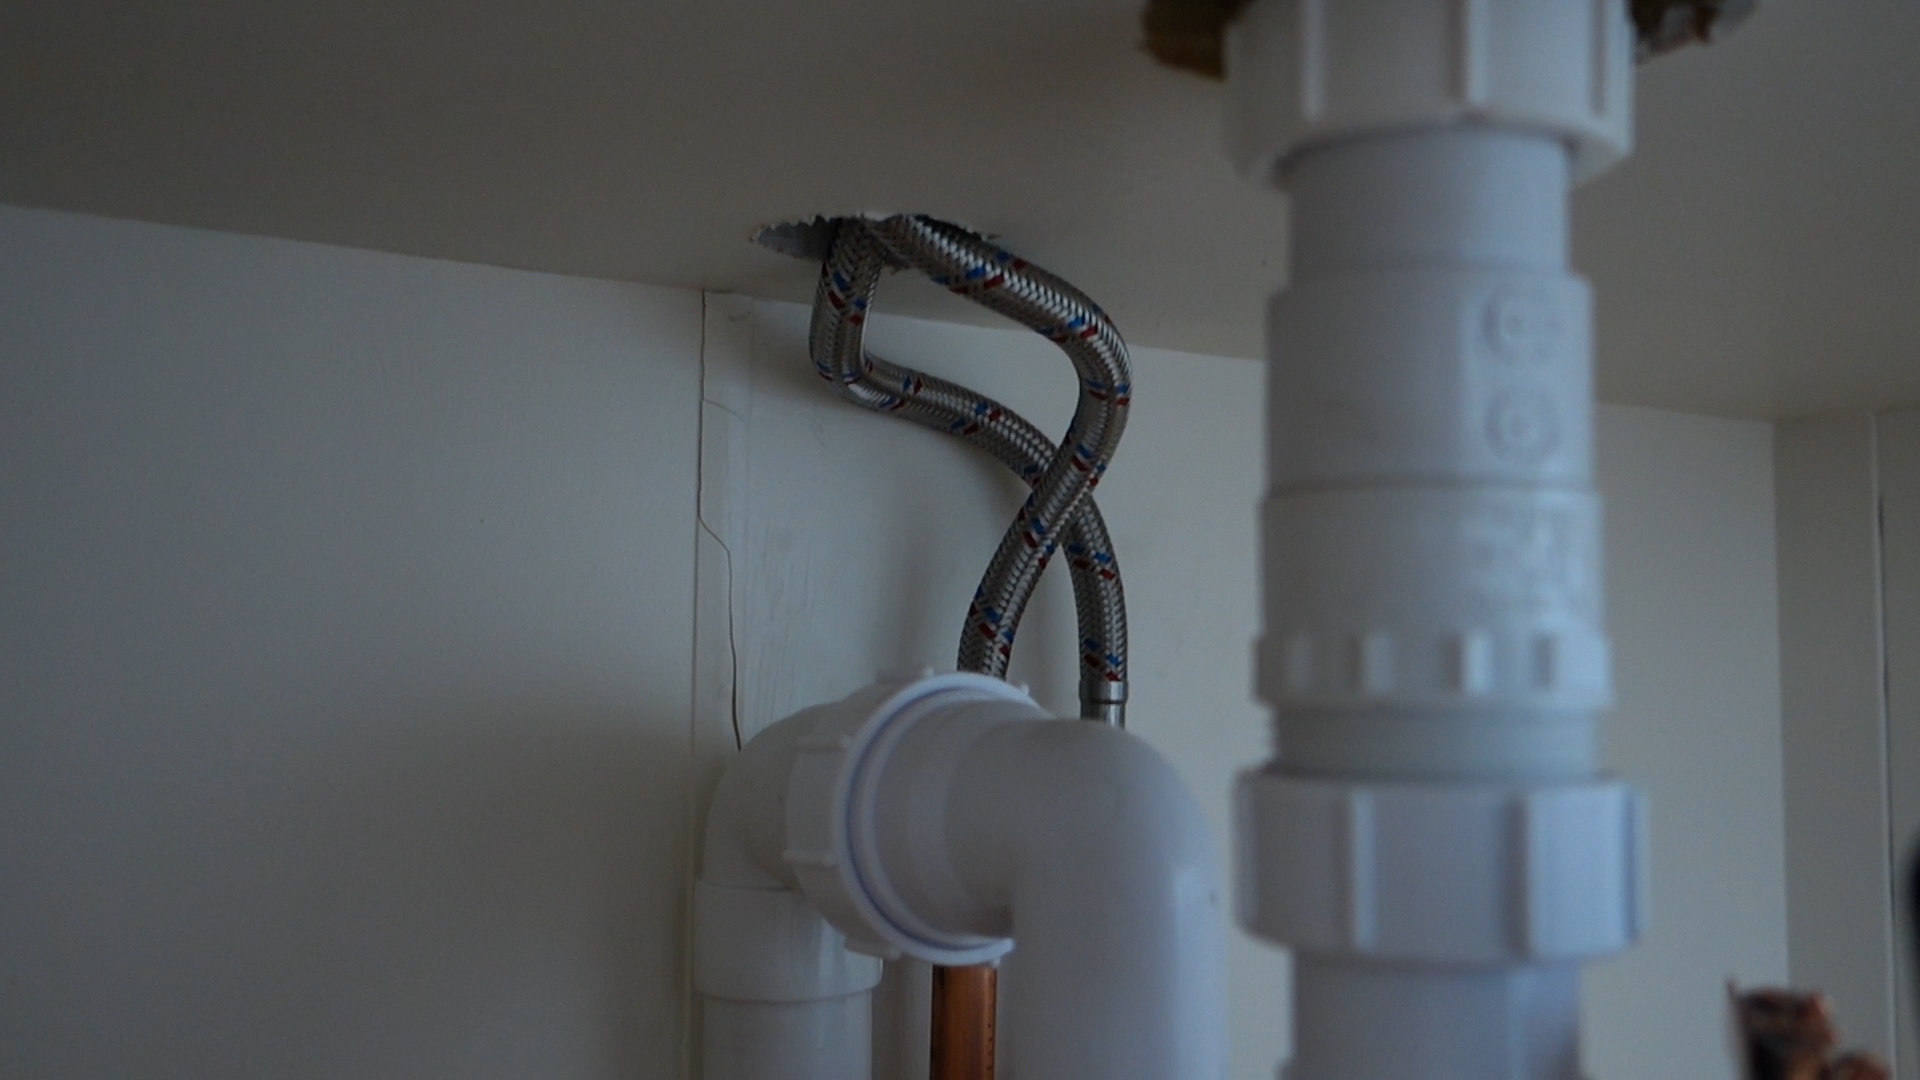
We also added the new handles and ordered a brushed brass faucet. We found both online and in the hardware store, but here I have picked out similar for you (advertising or affiliate link, what that means see below).
German shops:
UK shops:
What we haven’t finalized yet is the silicone around the sink. We still have a few things to do in the bathroom, build a box for the washer and boiler, paint the skirting and install the backsplash, so we’ll get that done in the next few weeks.
Other than that, we screwed everything together and pushed the table tight against the wall. The plumber connected the sink to the water and we were done with our vanity:
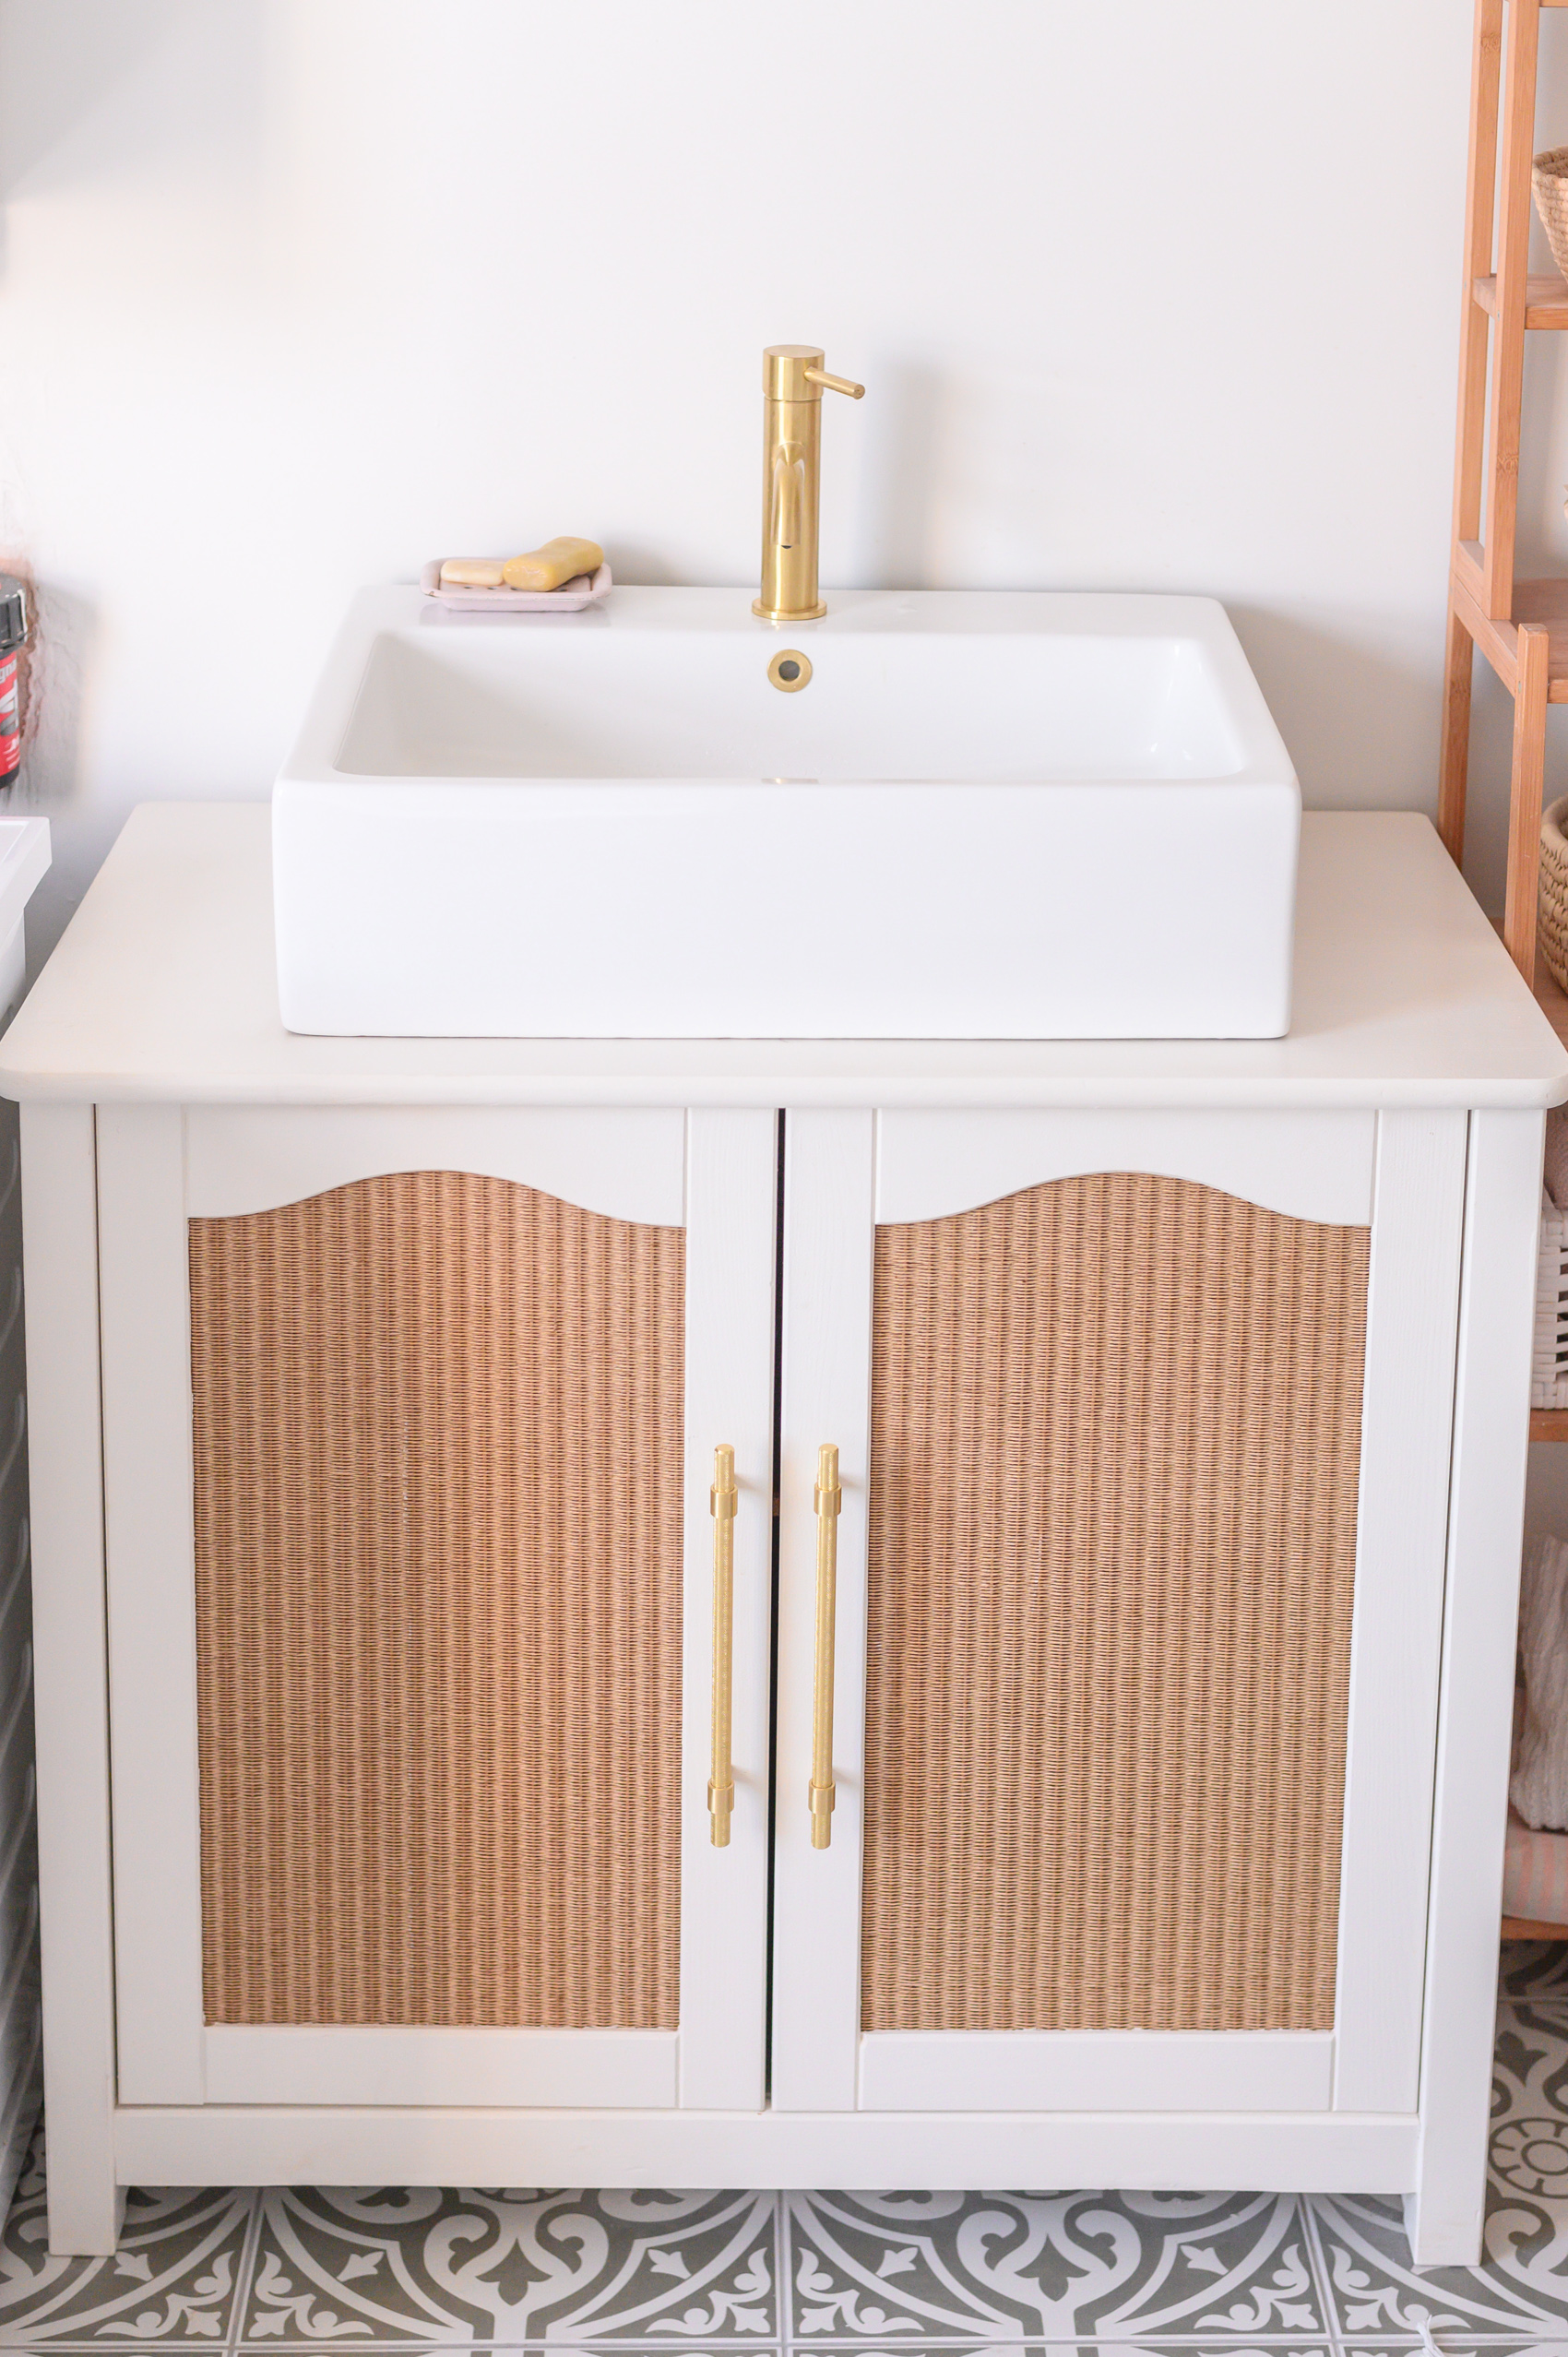

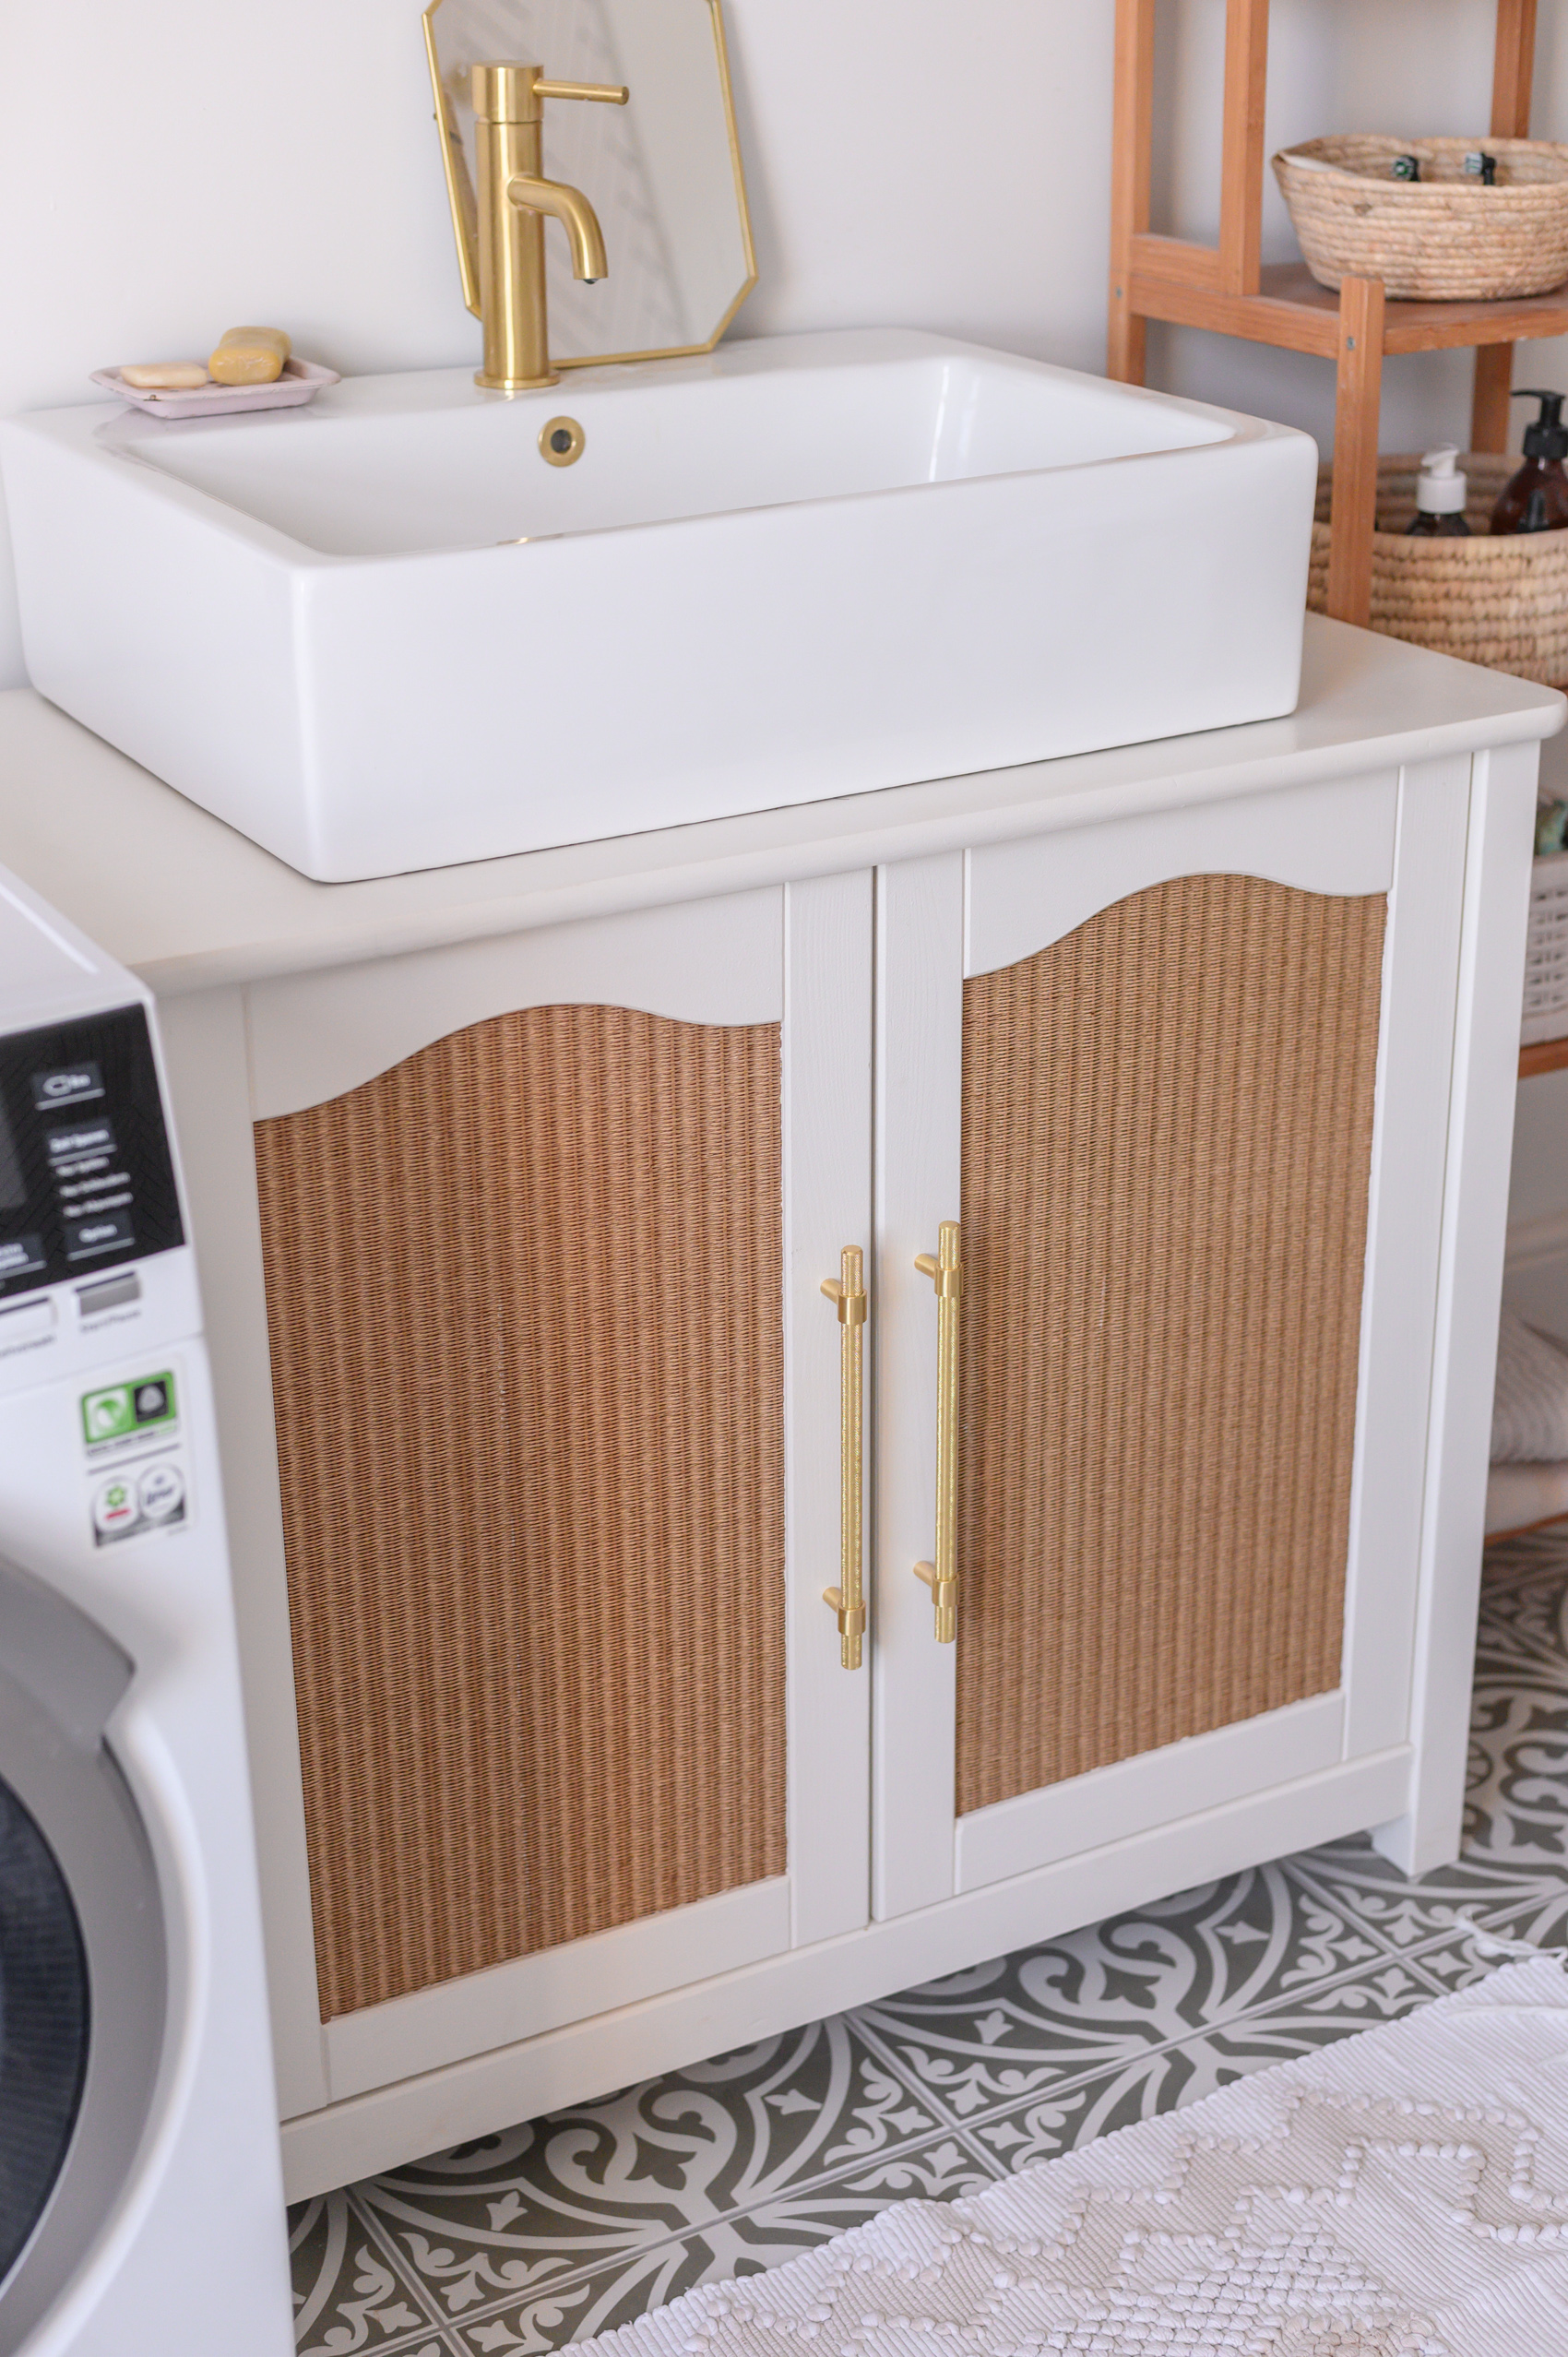
What do you think, how do you like the transformation? It took a while and was a lot of work, but I think it was worth it!
Here is a small overview of how much the whole thing cost:
- dresser 45,- Euros
- Handles 20 Euros
- Sink 130 Euros
- Faucet etc. 110 Euros
- plus tape and color

 Deutsch





4 comments
Hallo Mia,
eine schöne Verwandlung! Es gibt meiner Meinung nach viel zu wenige Beiträge dazu, wie man mit (mal mehr, mal weniger) einfachen Mitteln ein altes Möbelstück anpassen kann. Aber da muss ich mich auch an die eigene Nase packen. Hab auch noch nichts dazu geschrieben…
Wir lieben es auch aus gebrauchten Möbeln etwas für uns passendes zu machen. Unser letztes Projekt war ein kleines Schränkchen für unseren Fernseher anzupassen. Neue Türe, andere Beine und schon sieht es aus, als hätten wir es zusammen mit dem bestehenden (auch selbst umgebauten) Regal gekauft. 🙂
Liebe Grüße Vanessa
ja, manchmal reichen sogar “nur” ein paar neue Beine, vielleicht auch neue Griffe und schön sieht das Möbelstück ganz anders aus! Danke dir! 🙂
DIY thrift flipping a bathroom vanity is a great way to breathe new life into an old piece of furniture, while also creating a unique and personalized look in your bathroom. By repurposing an old dresser or vanity, homeowners can save money and add character to their space. Some popular DIY techniques include painting, staining, and adding new hardware. It’s important to take time to carefully plan the project and ensure that the vanity is functional and properly finished to withstand daily use in a bathroom setting. With the right approach, DIY thrift flipping a bathroom vanity can be a fun and rewarding project that results in a one-of-a-kind piece that you can be proud of.
Wow, das sieht richtig stark aus!
Ich glaube allerdings, dass ich mir das gar nicht selbst zutrauen würde. Leider hab ichs nicht so mit genauer Arbeit, beim Messen habe ich leider einen Knick in der Optik und dann sieht alles krumm und schief aus 😀