
 Deutsch
(This blogpost contains Affiliate Links)
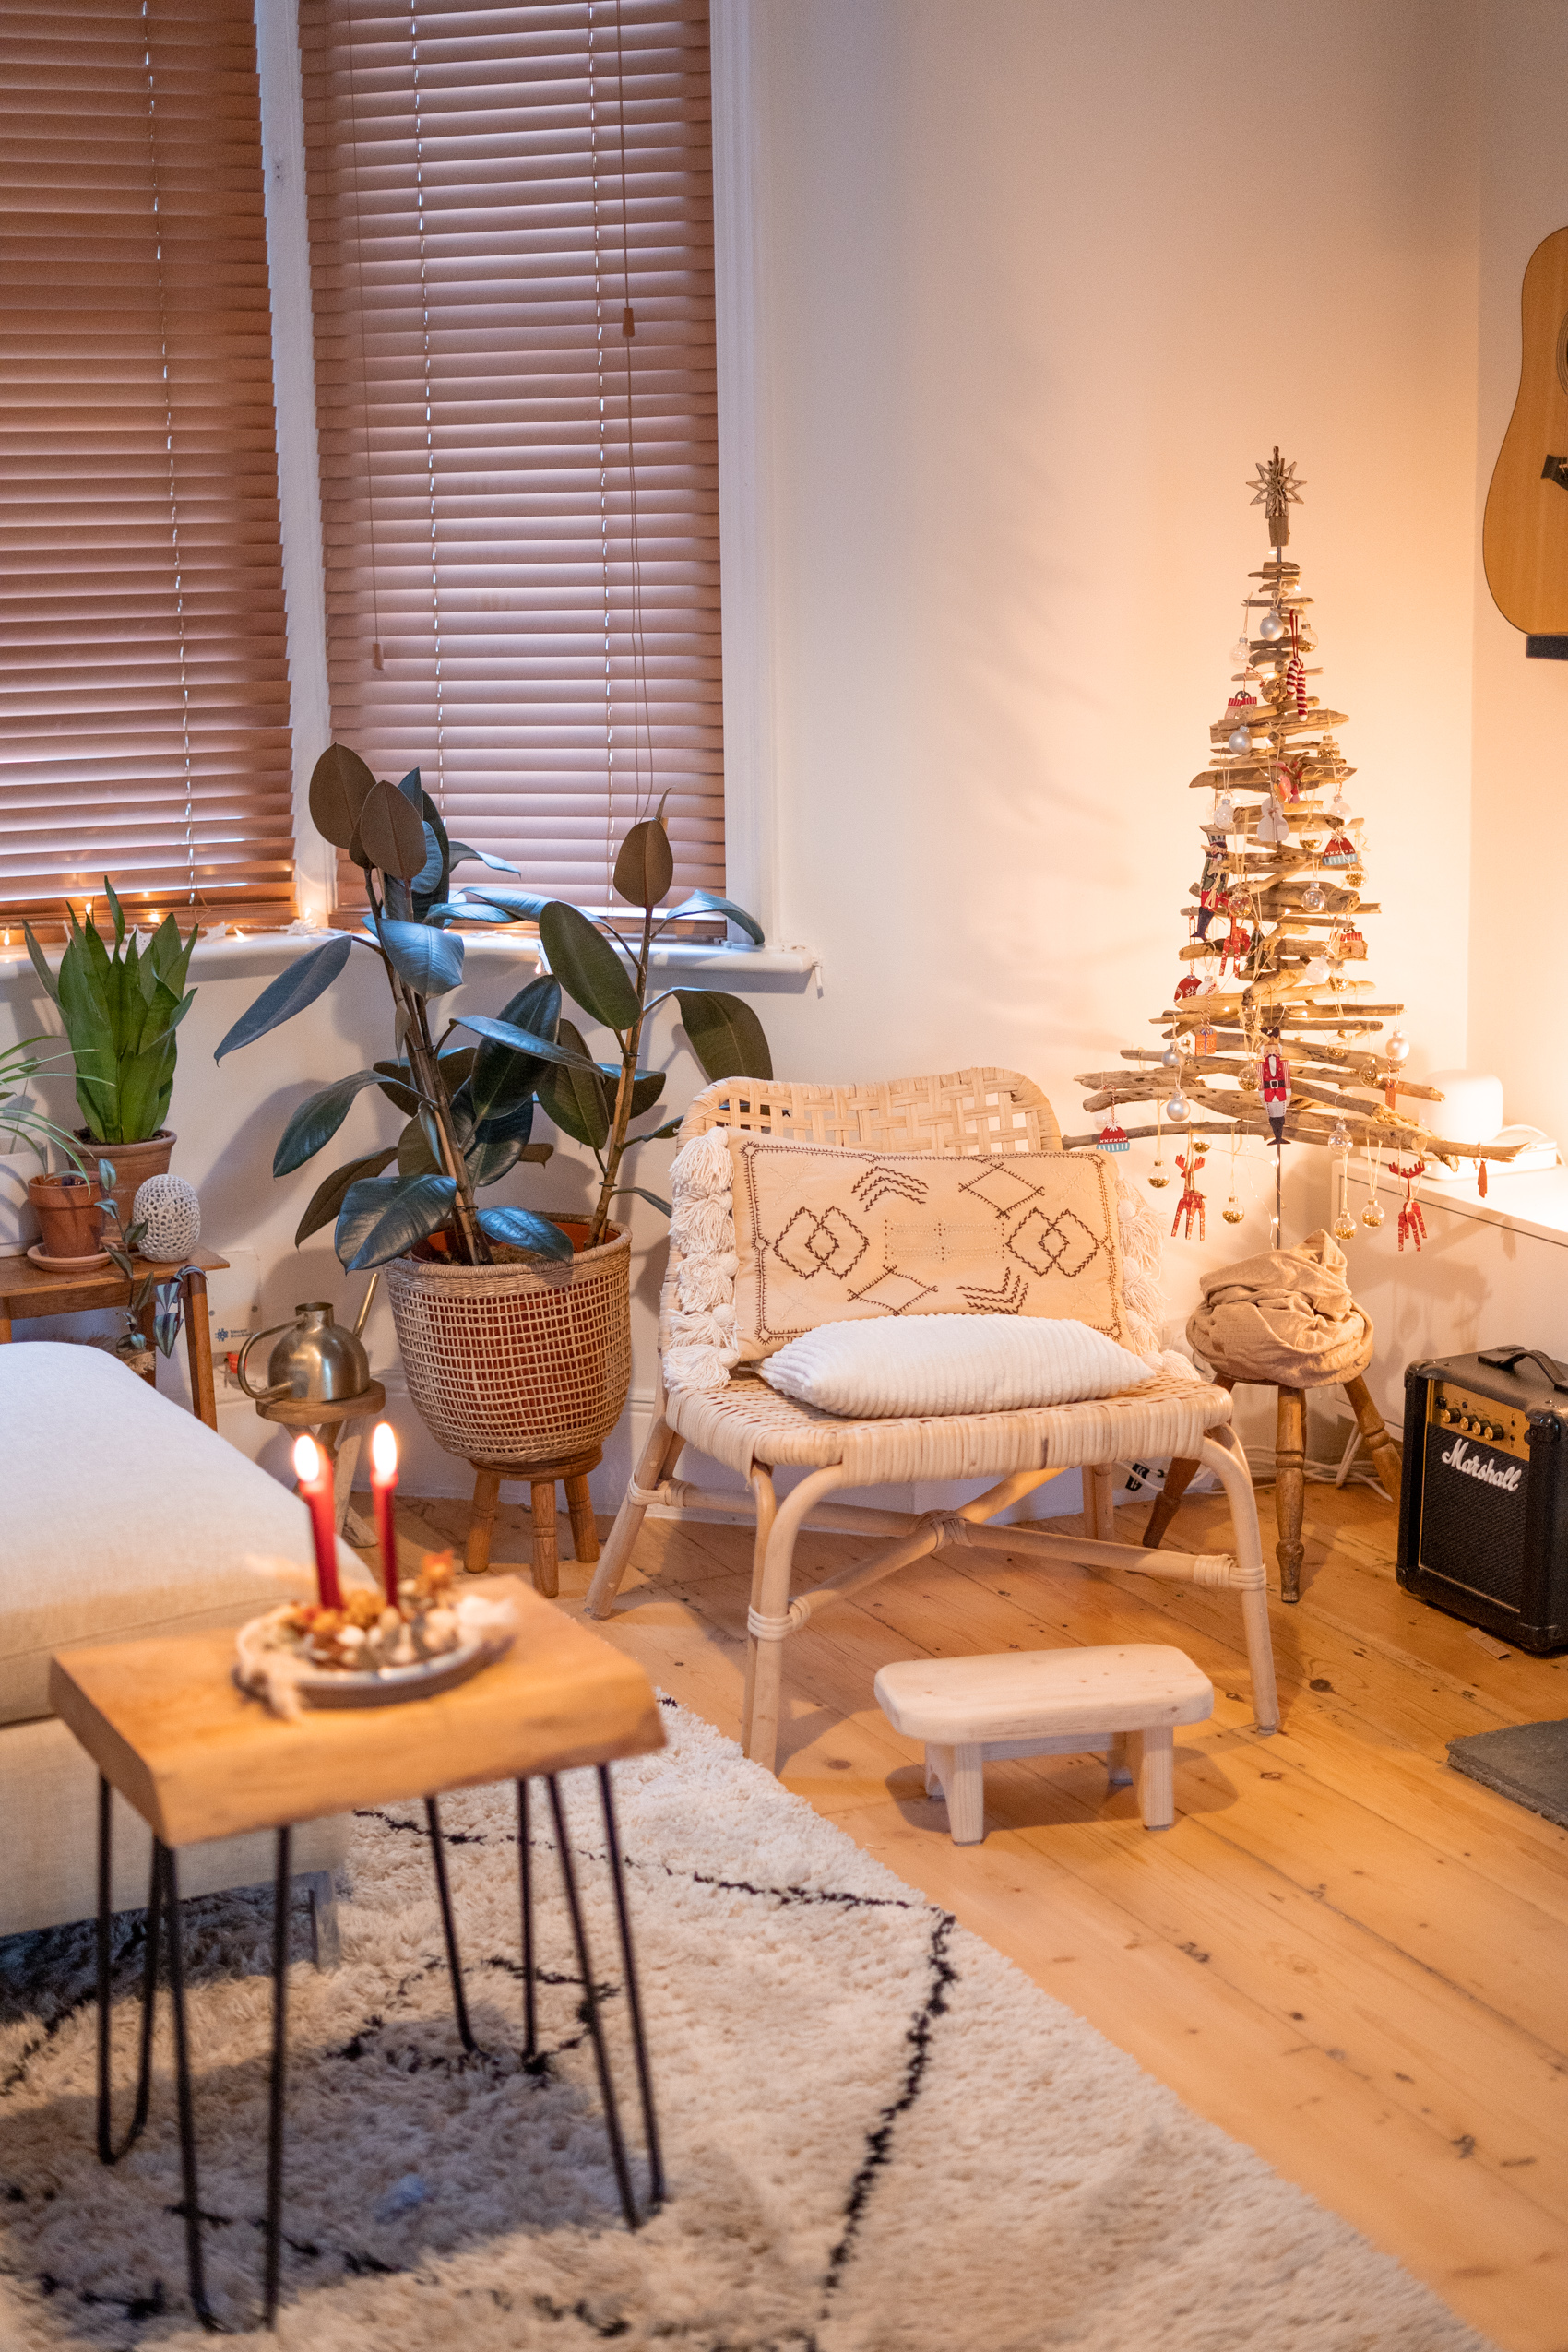
Christmas Tree – Oh Christmas Tree! I want you to be made sustainably 😀
I really do love Christmas decorations but on the one hand I prefer more minimal or boho style decor and on the other hand I always try to find more sustainable alternatives.
Sustainable Christmas Tree
And unfortunately classic Christmas trees don’t seem to be the most sustainable option. I do love them and I don’t rule out maybe getting a classic Christmas tree next year. Apparently getting buying native trees, for example in Germany spruce, pine or fir trees that grow on so-called special areas under power lines or on transmission lines, are the best option. The short transport route also has a positive effect on the ecological balance of the trees and they can be bought without a guilty conscience. Even better, but harder to find, are regional Christmas trees from organically managed Christmas tree farms, which can be recognized by the FSC, Naturland or Bioland certificate (source).
Alternatives
I did some research and if you’re not in the mood for a classic green Christmas tree, there are even more options for alternative decor:
- Christmas tree ladder – very modern but a practical solution: Simply decorate a thin ladder with fairy lights and foliage
- Christmas tree made from cardboard: Either DIY it yourself (find some ideas on Pinterest!) or get them online for example from Original Unverpackt (get 10% off with the code OUHEYLILAHEY)
- Build a hanging Christmas tree from sticks, or driftwood
Here are some shopping ideas, or see below my pinned ideas from Pinterest:

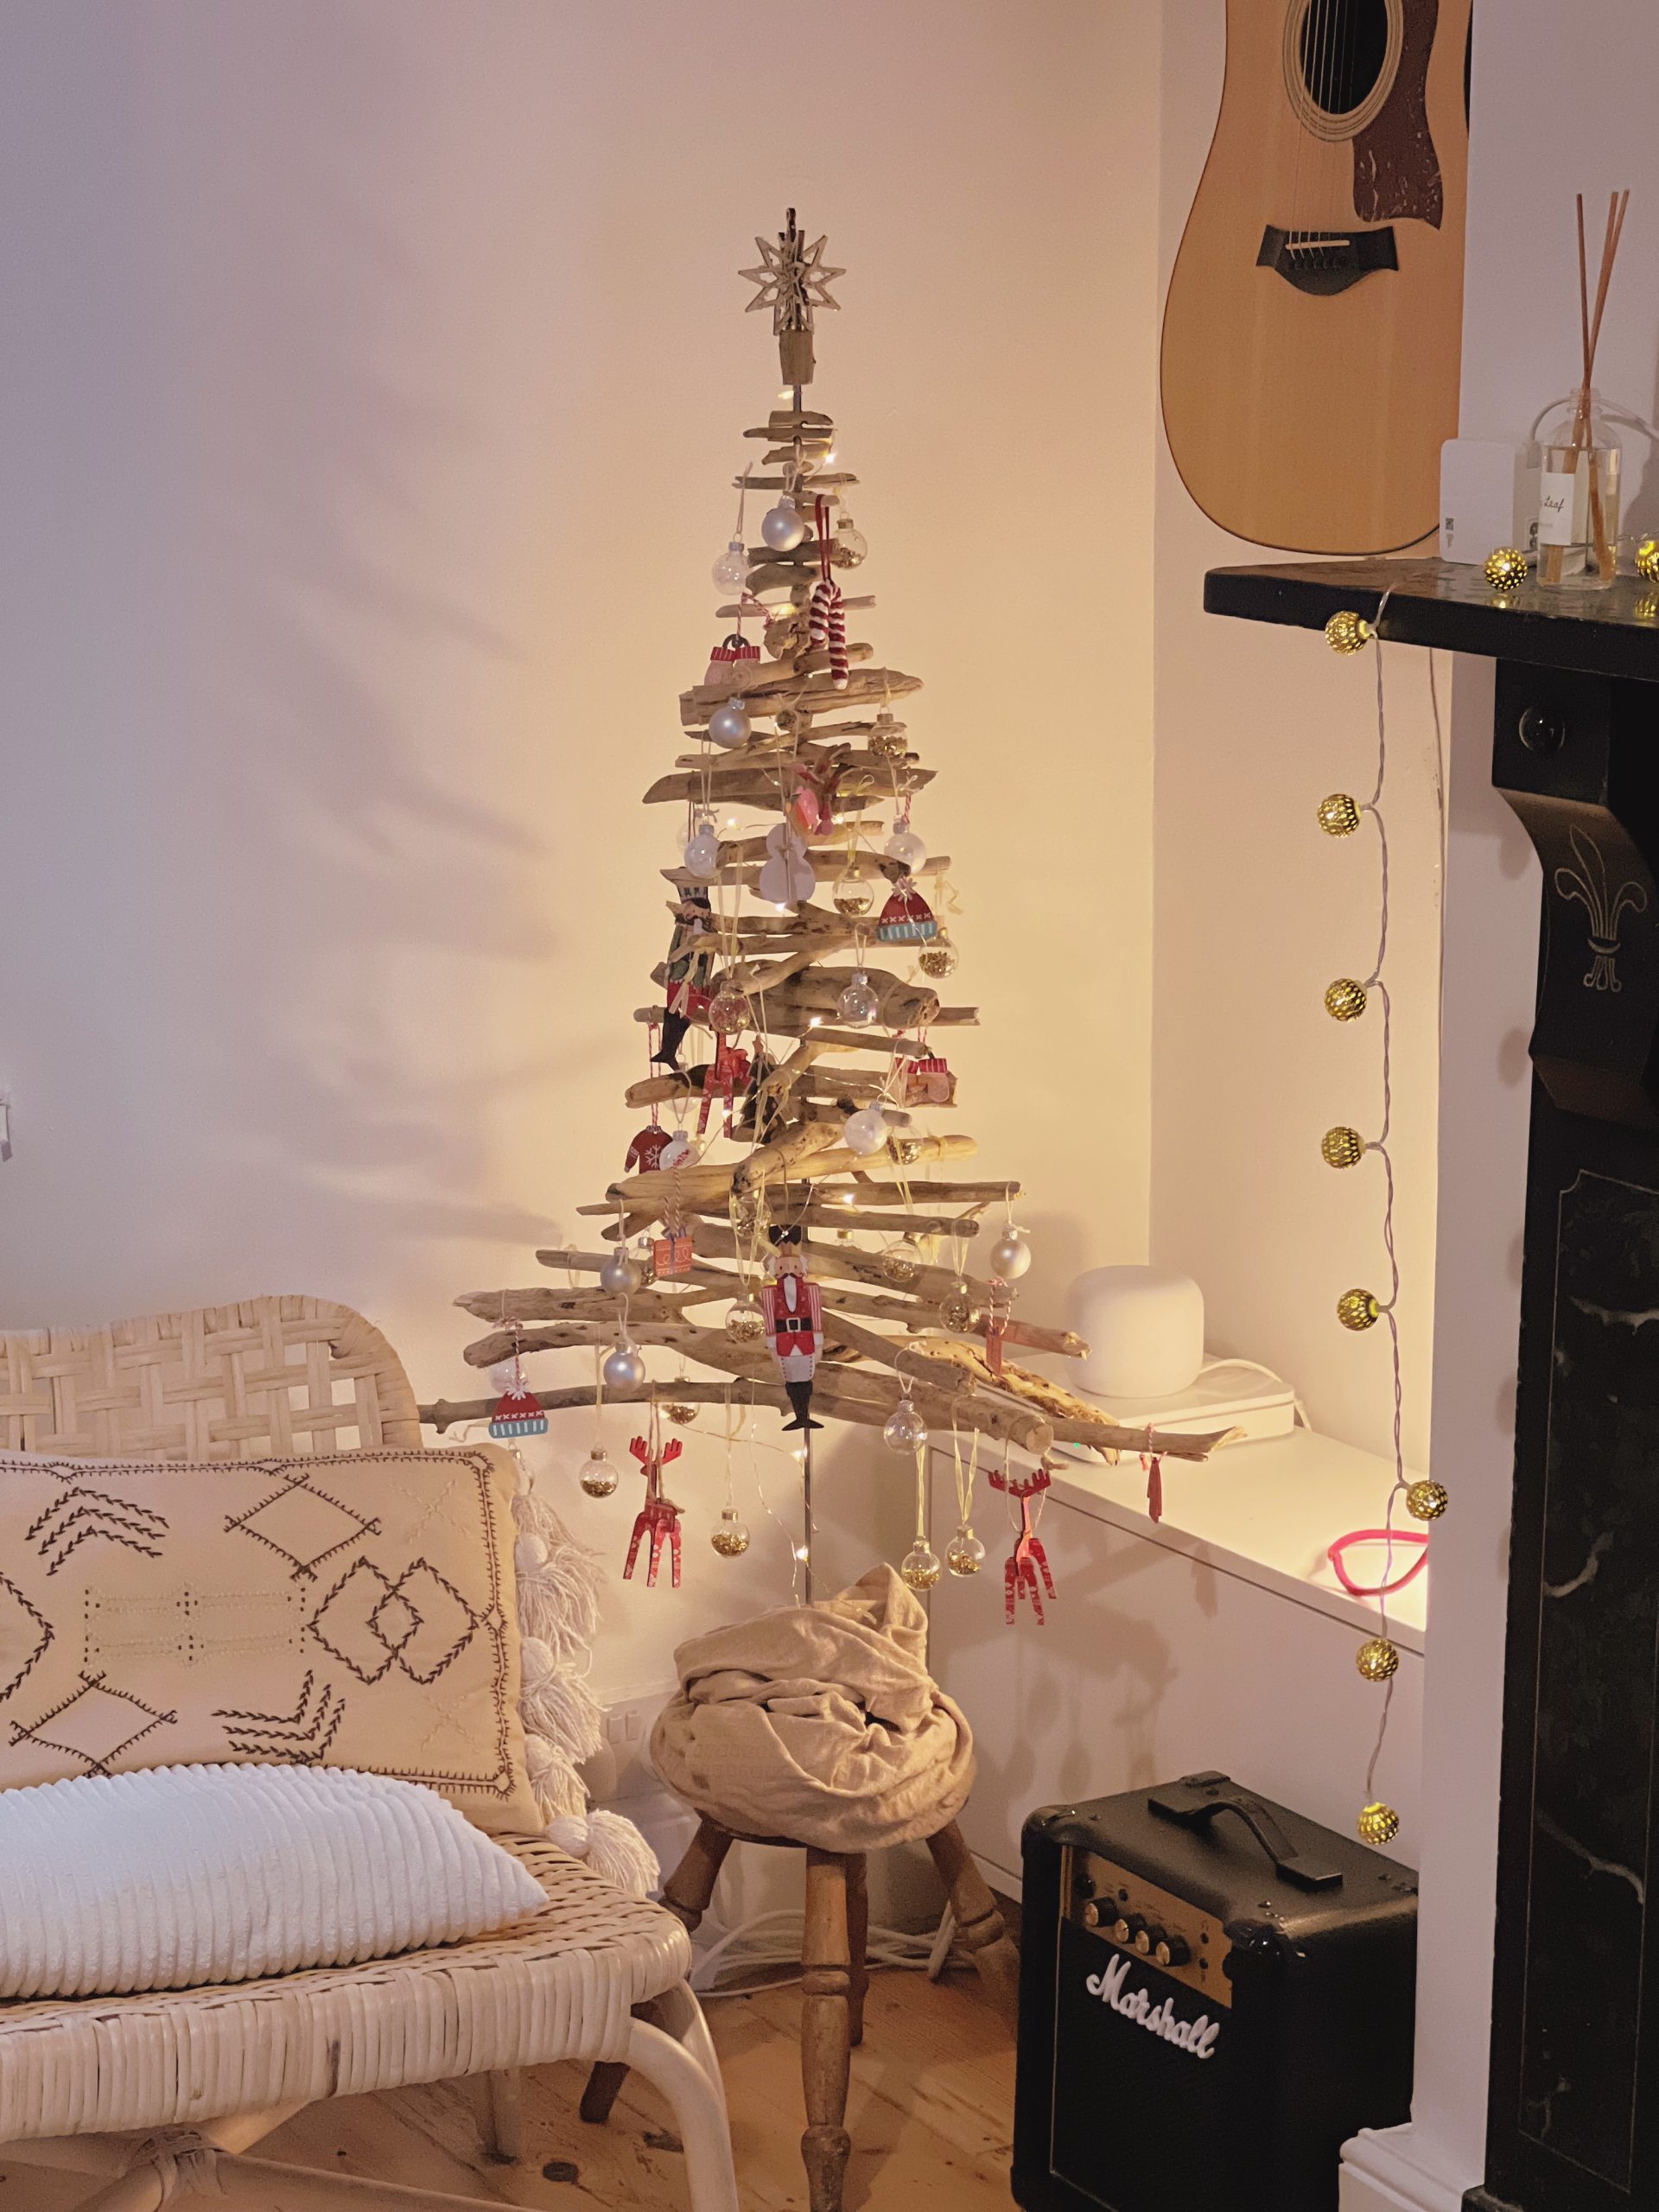
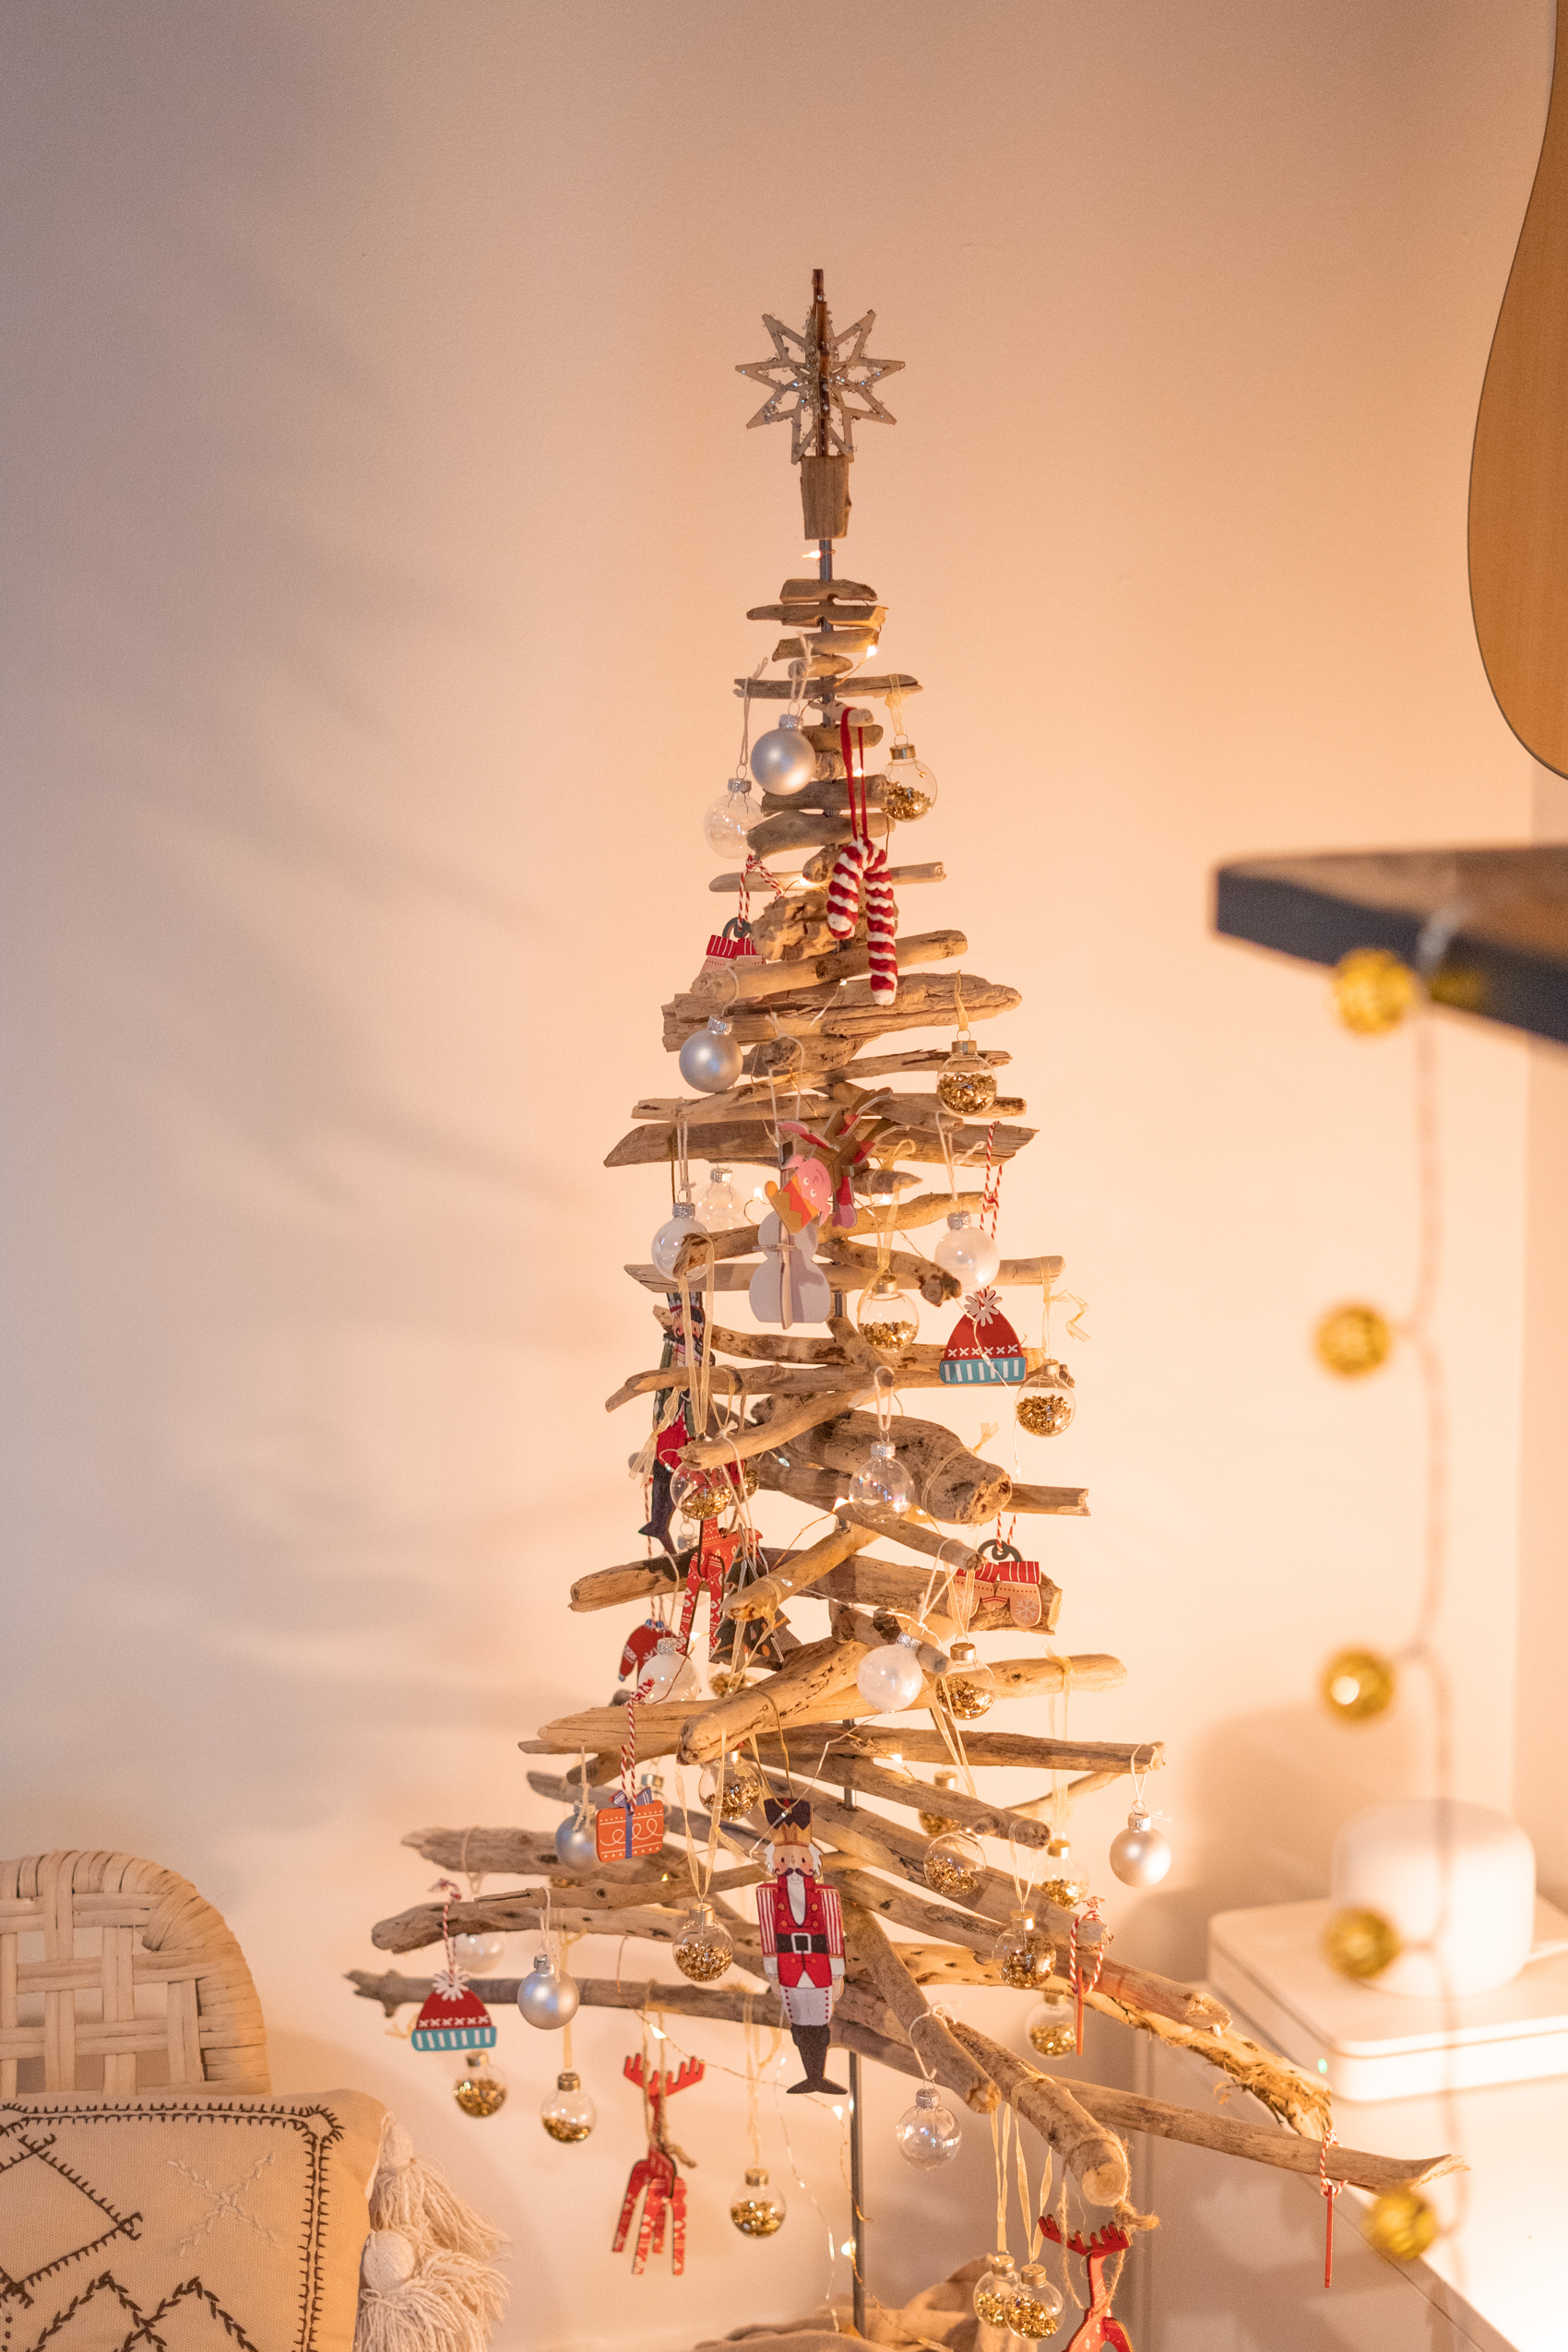
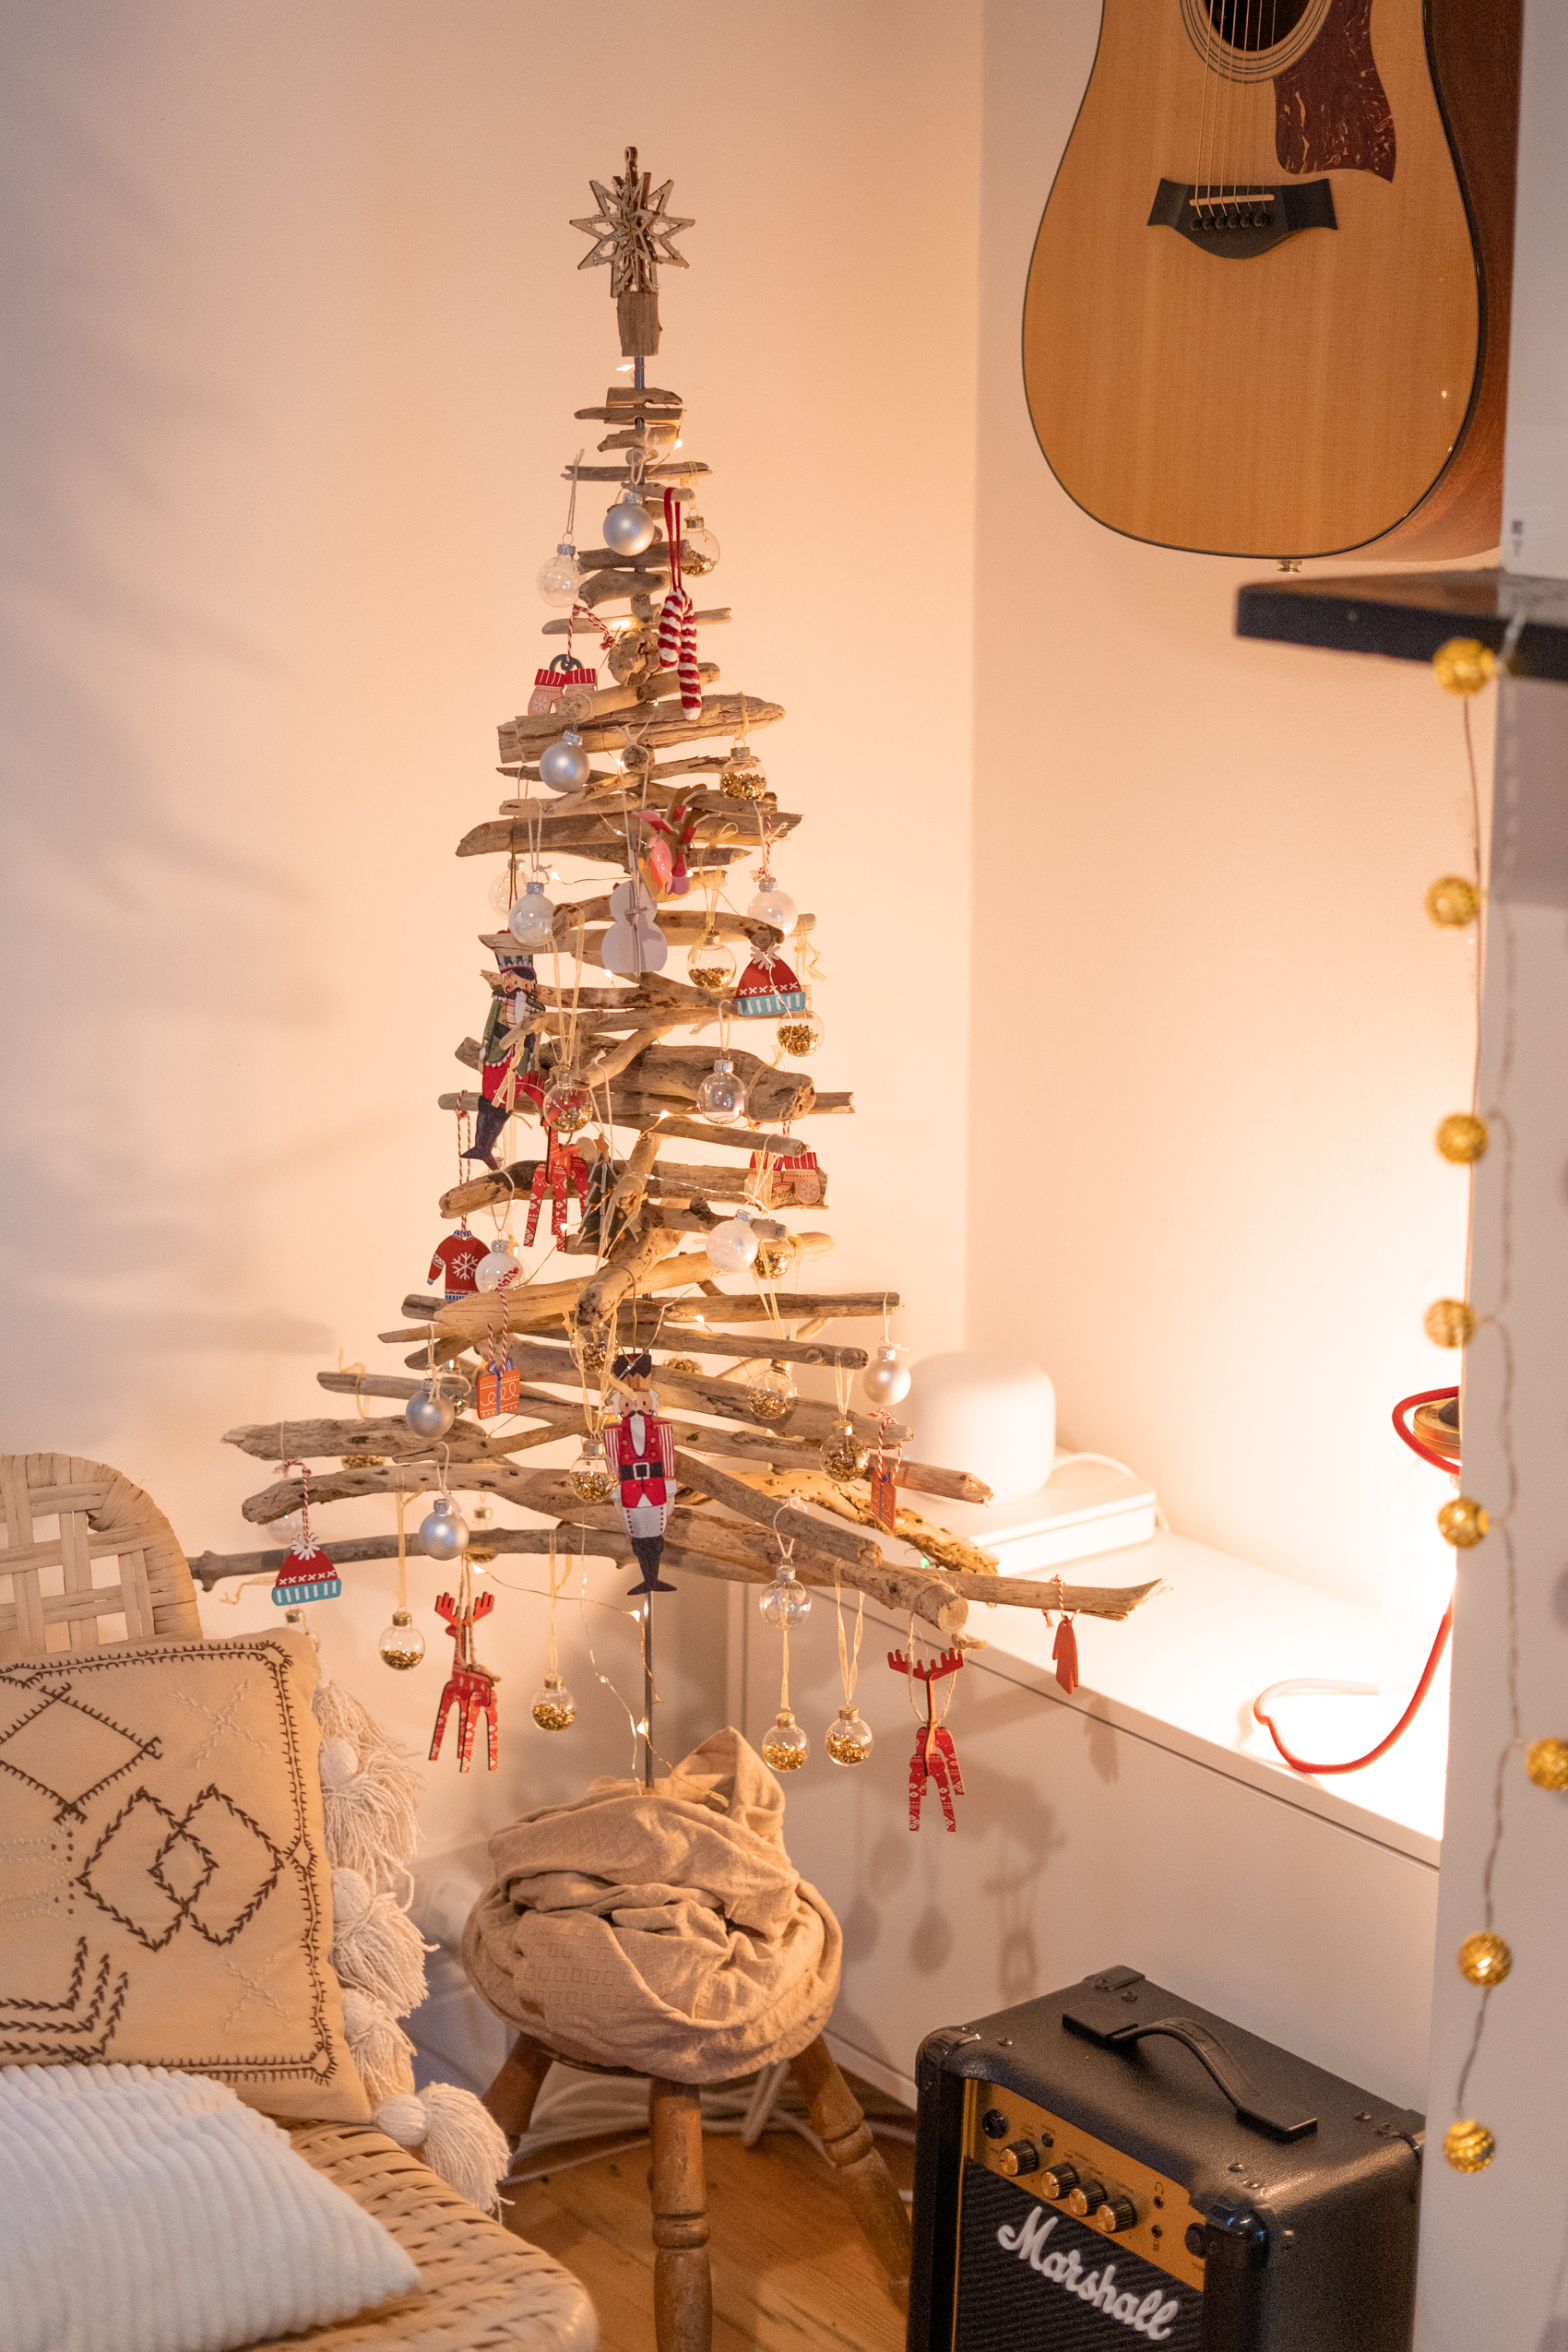
My driftwood Christmas tree alternative
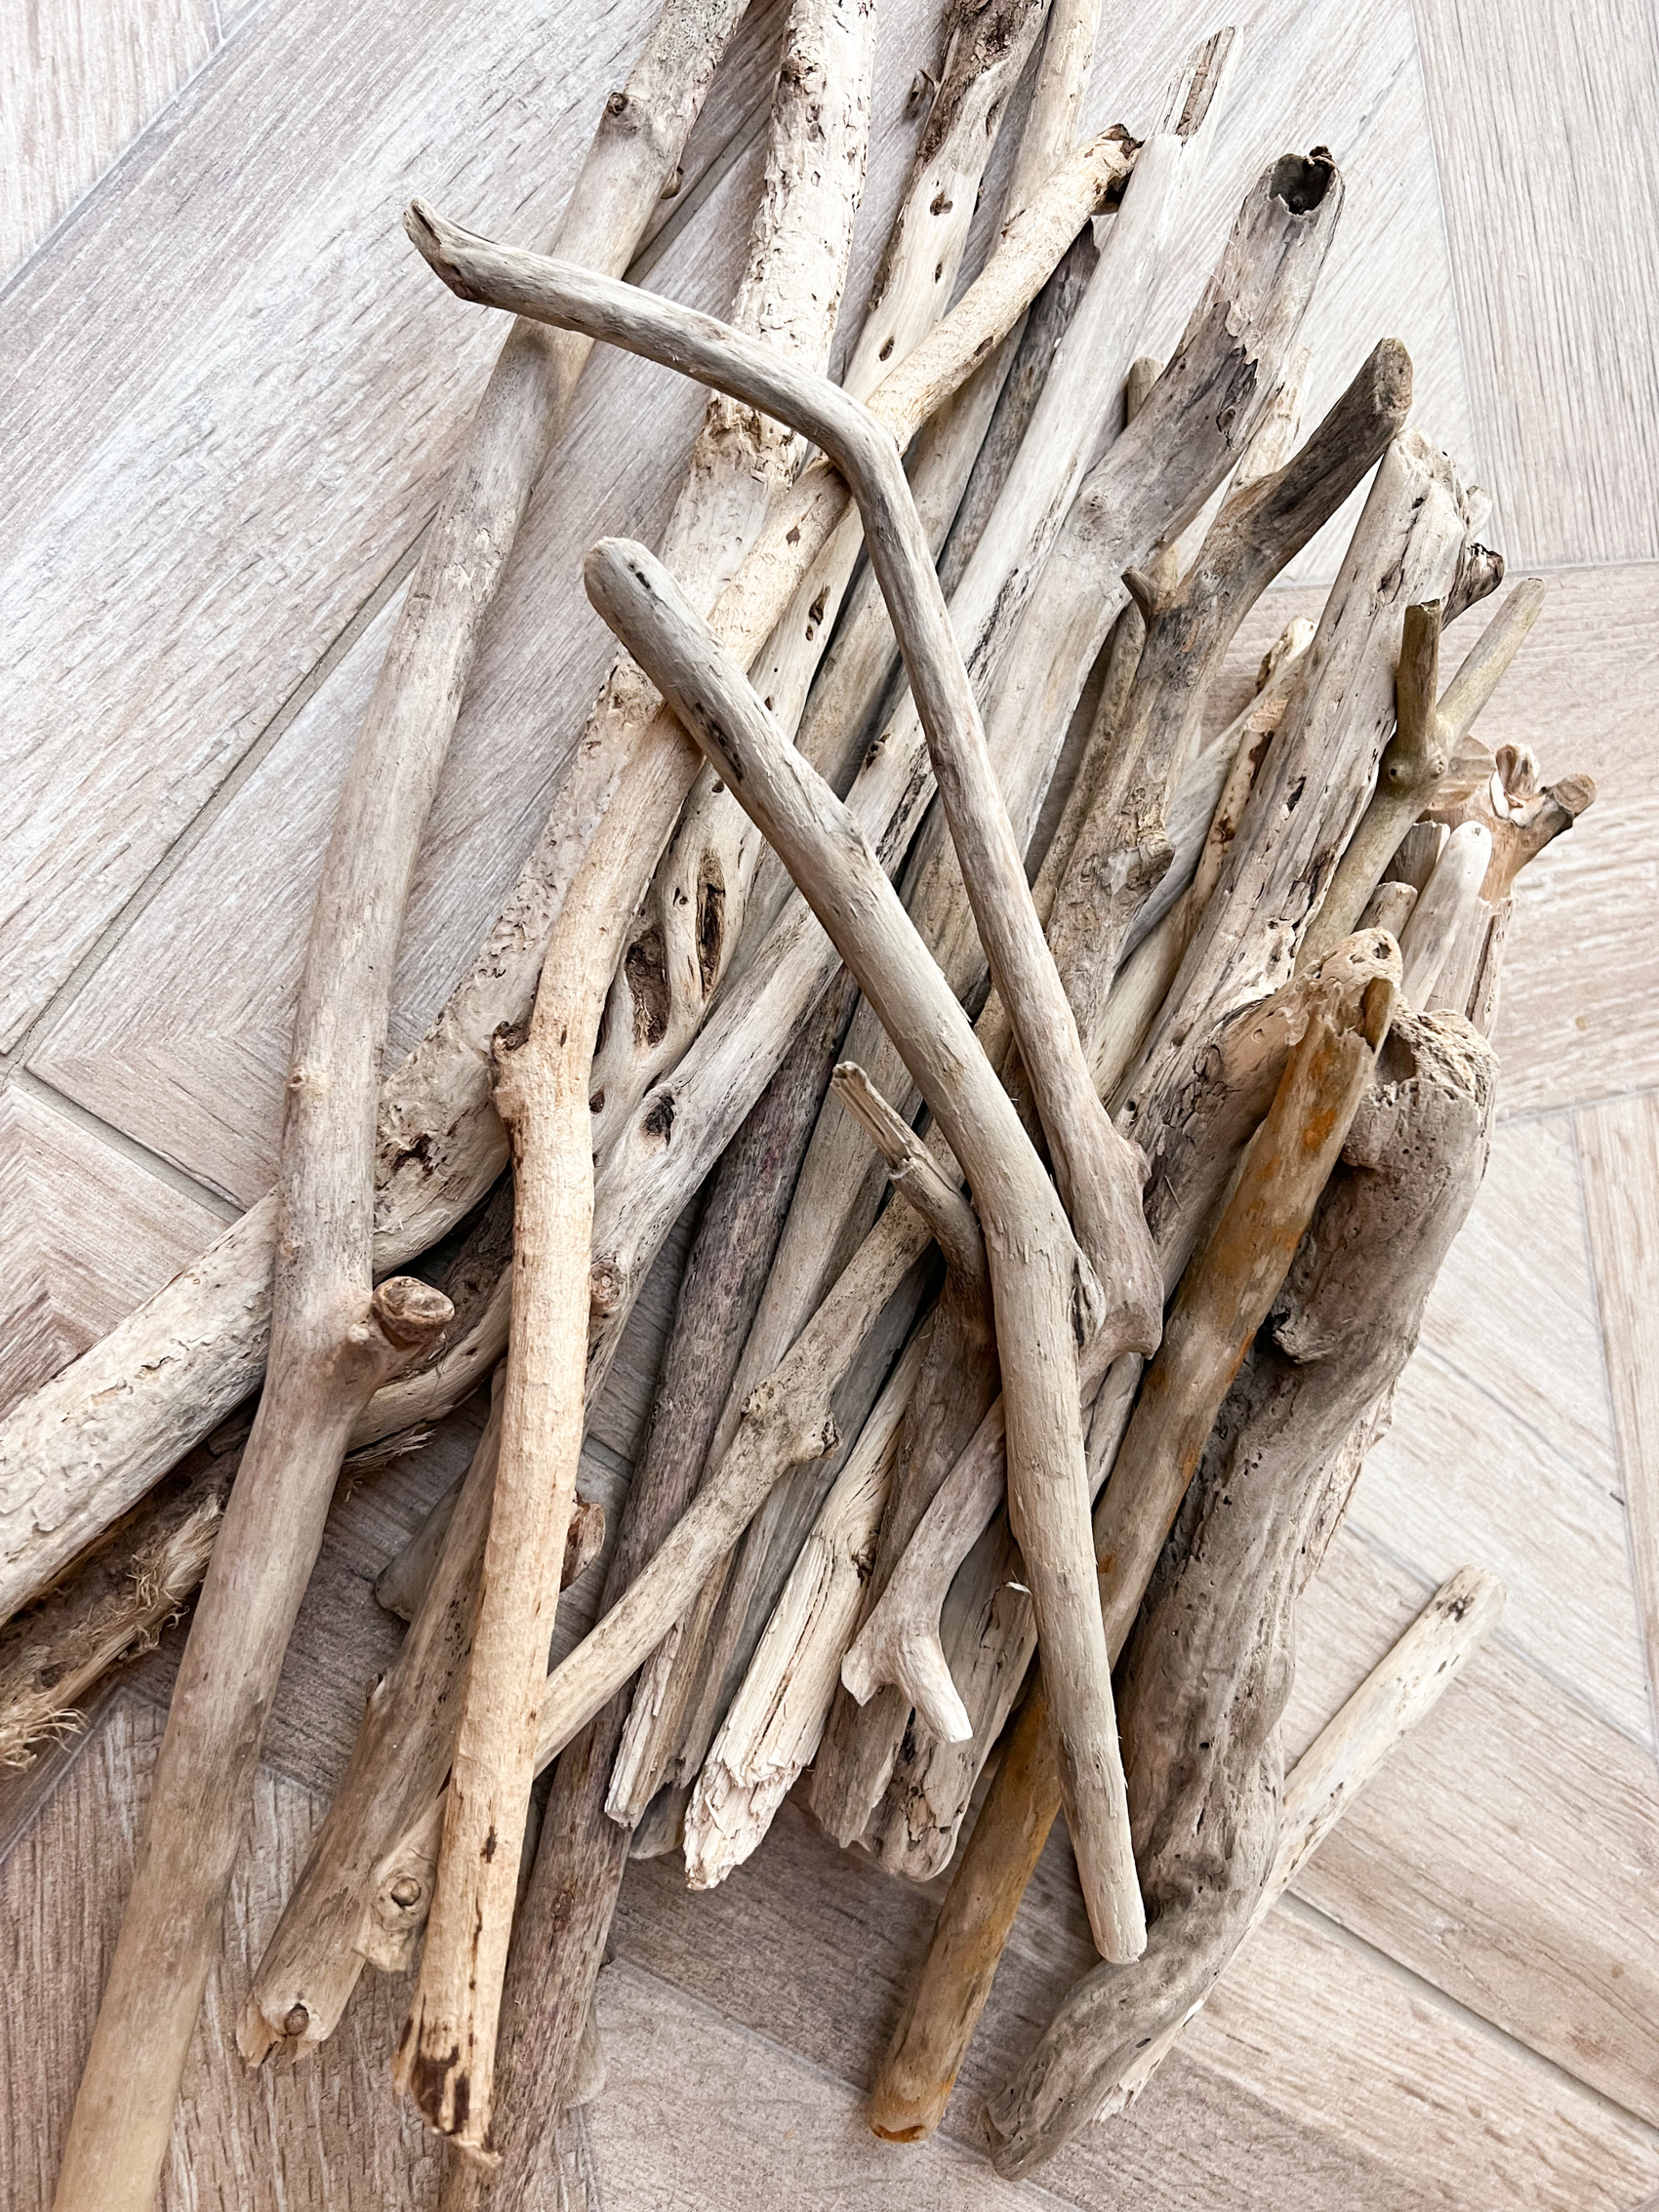
I think I first saw the idea on Pinterest, but ages ago: A Christmas tree made of driftwood! And at first I just wanted to buy one. But they were quite expensive and sold out pretty quickly. Then two weeks ago we went to the beach for a walk and the whole beach was completely full of driftwood. There was soooo much! I quickly googled and learned that it’s ok and allowed to collect some driftwood from the beach as long as it’s not done excessively and commercially. So I picked up a few sticks, let them dry at home and went to work 🙂
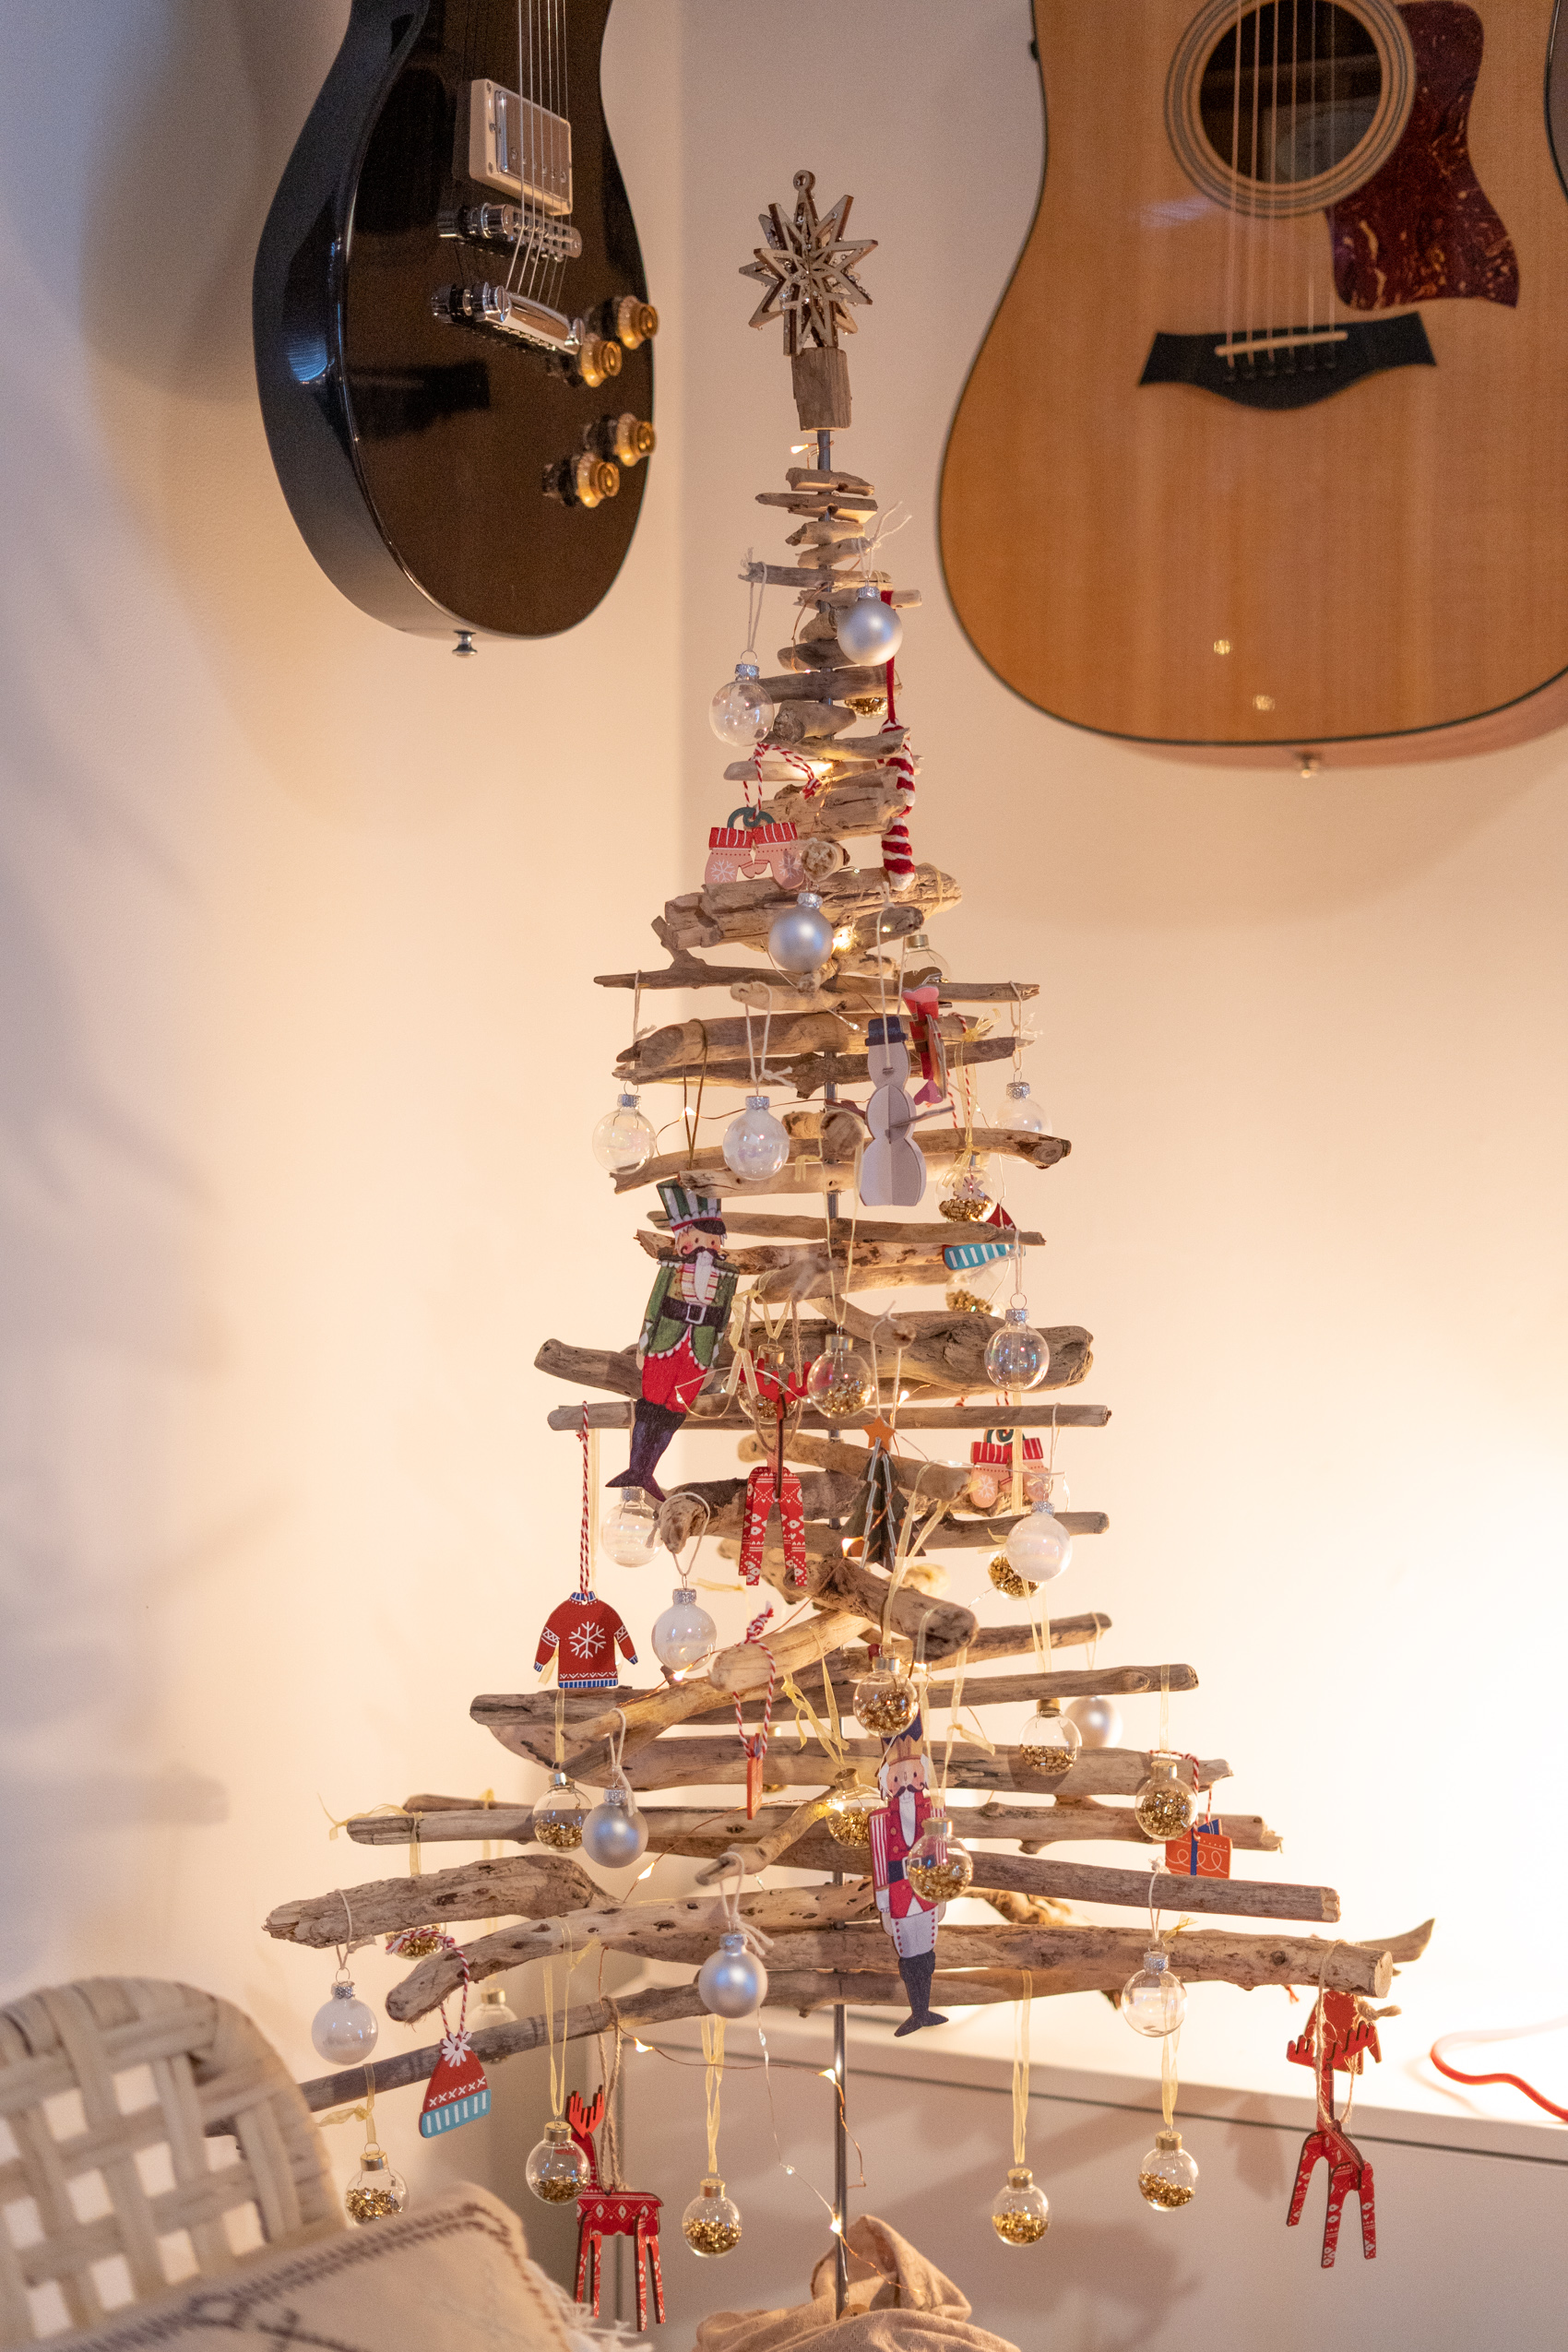
What you need & Measurements:
- wood, sticks, or drift wood – you can use any sticks, it doesn’t have to be driftwood. You can even use regularly shaped sticks that you get in a hardware store. I used 44 sticks in the end product – a few broke during the process so if you use drift wood or random sticks, maybe have some spare ones. And some sticks where just like 4cm long. The longest on the bottom is 65cm long.
- measuring tape & a pen
- A metal rod (should be a quite stable one, so it doesn’t bend over from the weight of the wood, ours was 5mm in diameter and 100cm long)
- A drill and a drill bit for wood that has the same diameter as the rod (or marginally smaller)
- A base – either make your own with plywood and a saw or buy round wooden plates from a hardware store. I made two from plywood. They had a 20cm diameter and were each 2,5 cm thick. I didn’t need to glue them together but it would probably make sense
- Glue
- In the end our Christmas tree was the height of the length of the rod (100cm). And the actual Christmas tree, so just the part where the sticks are attached, is about 75-80cm high.
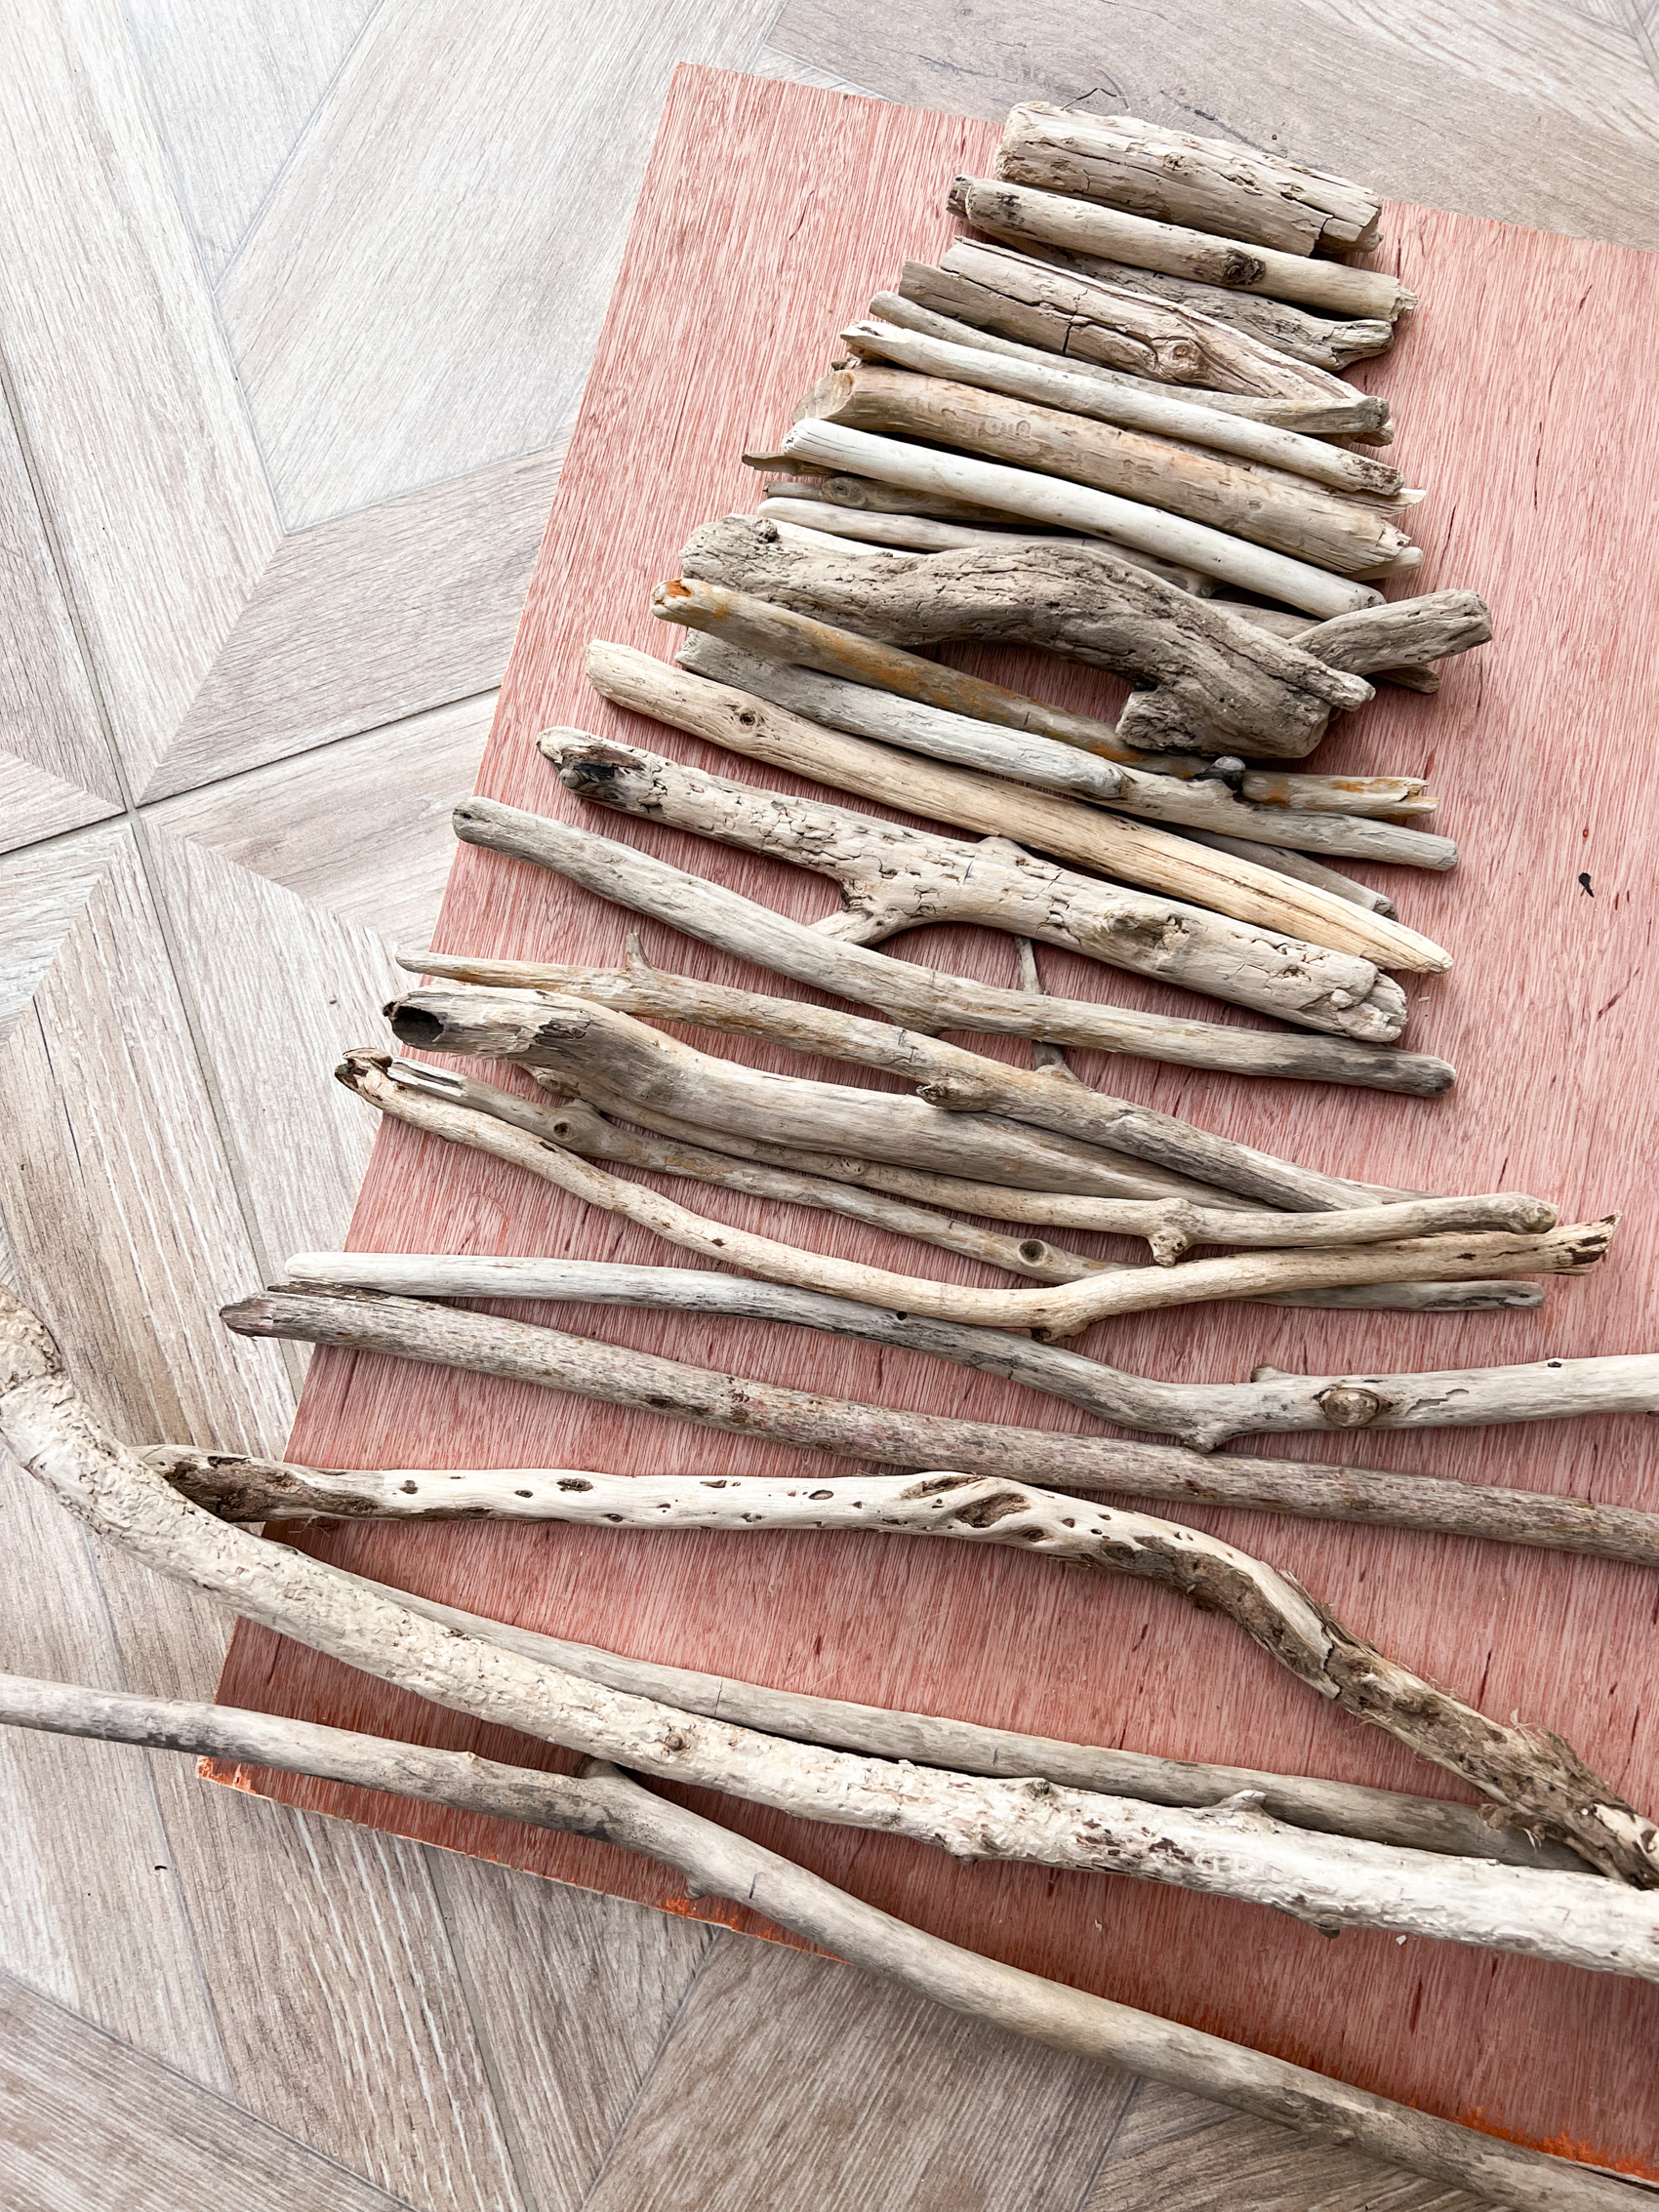
Step 1 – Sort & Measure
First, I sorted my sticks by length and measured the middle and made a mark with a pen so I would know where the middle was. It doesn’t have to be exact. I also sorted them by length so I would have the longest sticks at the bottom and the shortest ones on the top to create a typical Christmas tree shape.
Step 2 – Drill
I just drilled holes into the marked spot so I could later push the metal rod through it. I tried to do this very carefully since some sticks were quite thin and some even broke when I drilled through them. But luckily I had a few spare ones.
Step 3 – Sorting it on the rod
In the next step I literally just pushed the sticks through the whole on to the rod. That wasn’t always easy and I had to kind of knock them on by knocking the rod on to the floor and push onto the stick (and again a few sticks broke during this process), but at least they were secured tight and nicely onto the rod.
Step 4 attach rod to base
We made our own base by cutting circles out of plywood and then drilled a whole in the middle (same width as the wholes in the sticks). But you can just buy round wooden plates from the hardware store. It would probably also be good to use some glue but it wasn’t really necessary for us.
Optional: Star for the top
We also drilled a whole into a thicker stick length wise (it looked a bit like a cork) and glued a cute little wooden star I found in TK Maxx on the top. We could have also just glued the star to the top of the rod but I prefer having the option of taking off the star in case I want to take the whole tree apart.

You can find the detailed instructions in my YouTube video:
https://youtu.be/mttTNas8v28
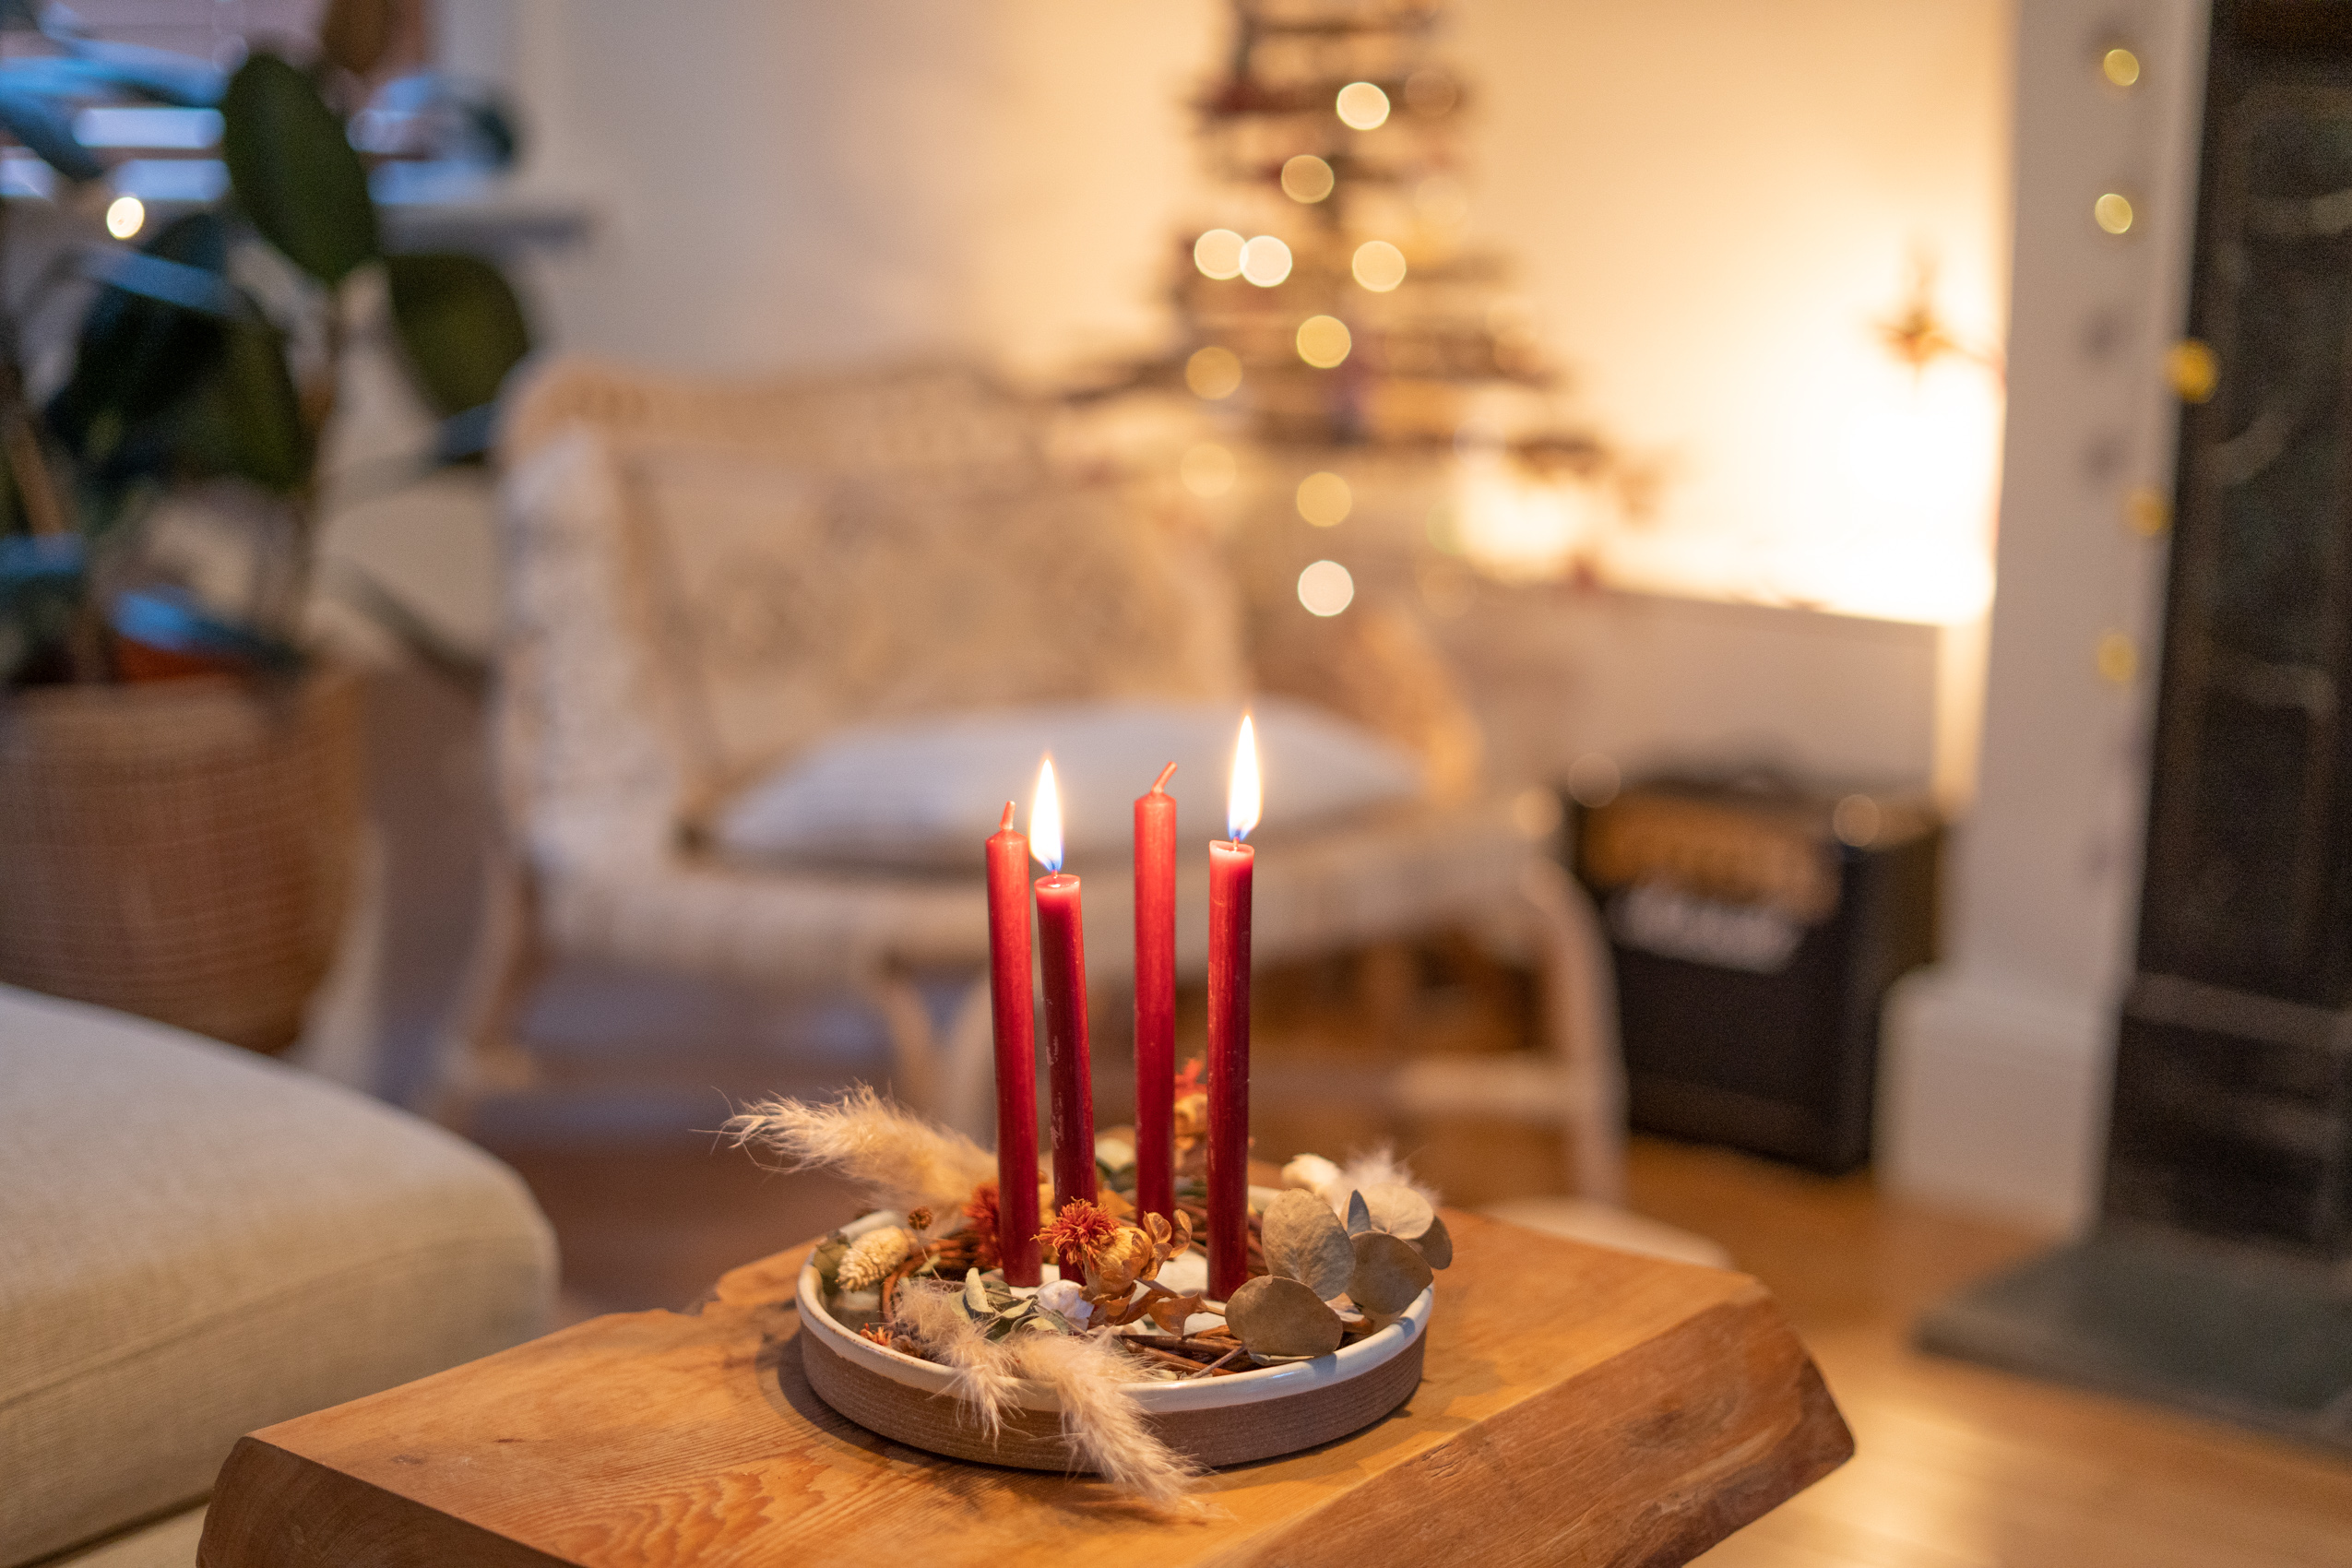
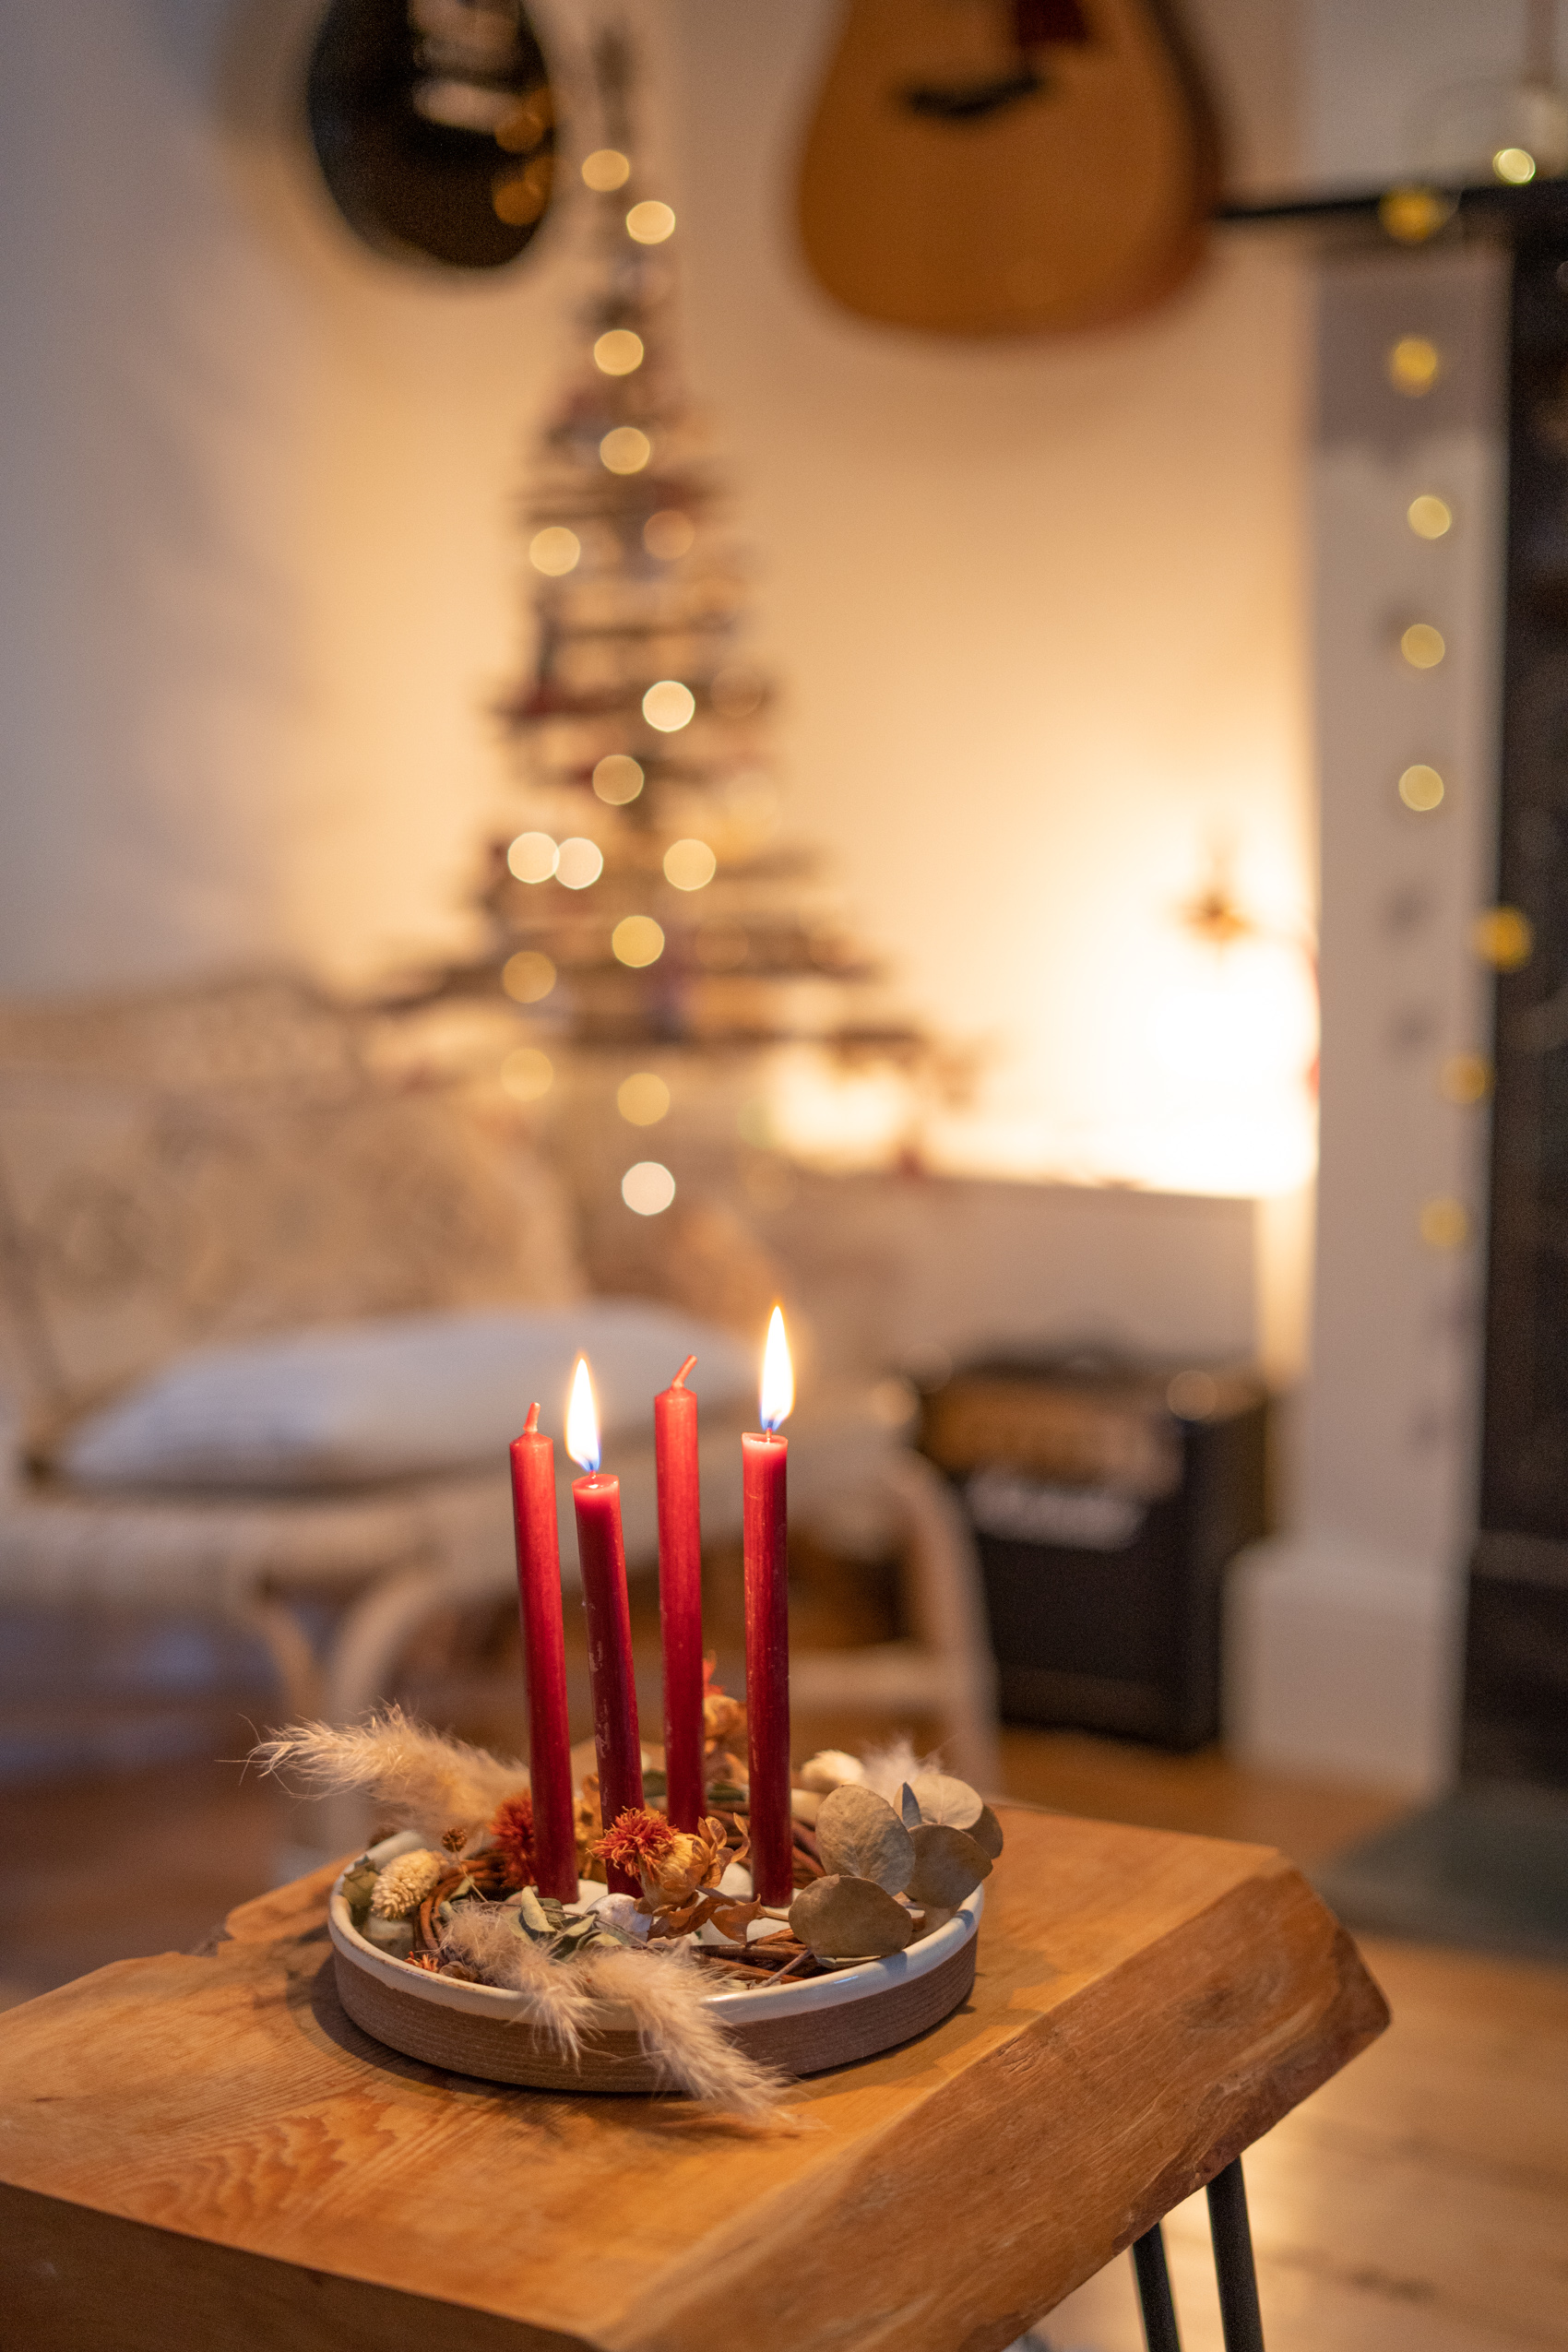
After that the last step is to just decorate the tree 🙂 You can also sand and paint the wooden base but I just draped a pretty piece of fabric around it so I could hide the fairy lights batteries in the fabric.
I hope the DIY tutorial was helpful and I am curious to hear: Do you have a Christmas tree at home? What kind of tree? The classic one, or an alternative?
Speaking of Christmas decor, here are some more shopping ideas for aesthetic Christmas decor:


1 comment
Wow! That is such a creative idea. It looks wonderful!